Columbus Hat

Columbus1Why the name Columbus, you ask? Well, I was going for a 1940s hat, but when I tried it on for the first time, this is the image that came to mind! 😀

I started this wool felt hat at the end of October 2014, but then I sort of lost interest in millinery for more than a year. I kept reading about millinery and collecting images and documentation, yet couldn’t be bothered making a hat, or even finishing the one I had started for that matter.

Columbus4

Velvet ribbon around the edge of the brim.

It’s only recently that I understood the reason for that loss of mojo, right when I also got said mojo back: my hair had simply become too long to play nice with the kind of hats I like… Lame but true! From the moment I decided to cut it short, my hands started itching to work again on the hat I had abandoned more than a year before! There wasn’t a lot left to do so I finished it before even getting an appointment at my hairdresser’s.

Columbus3
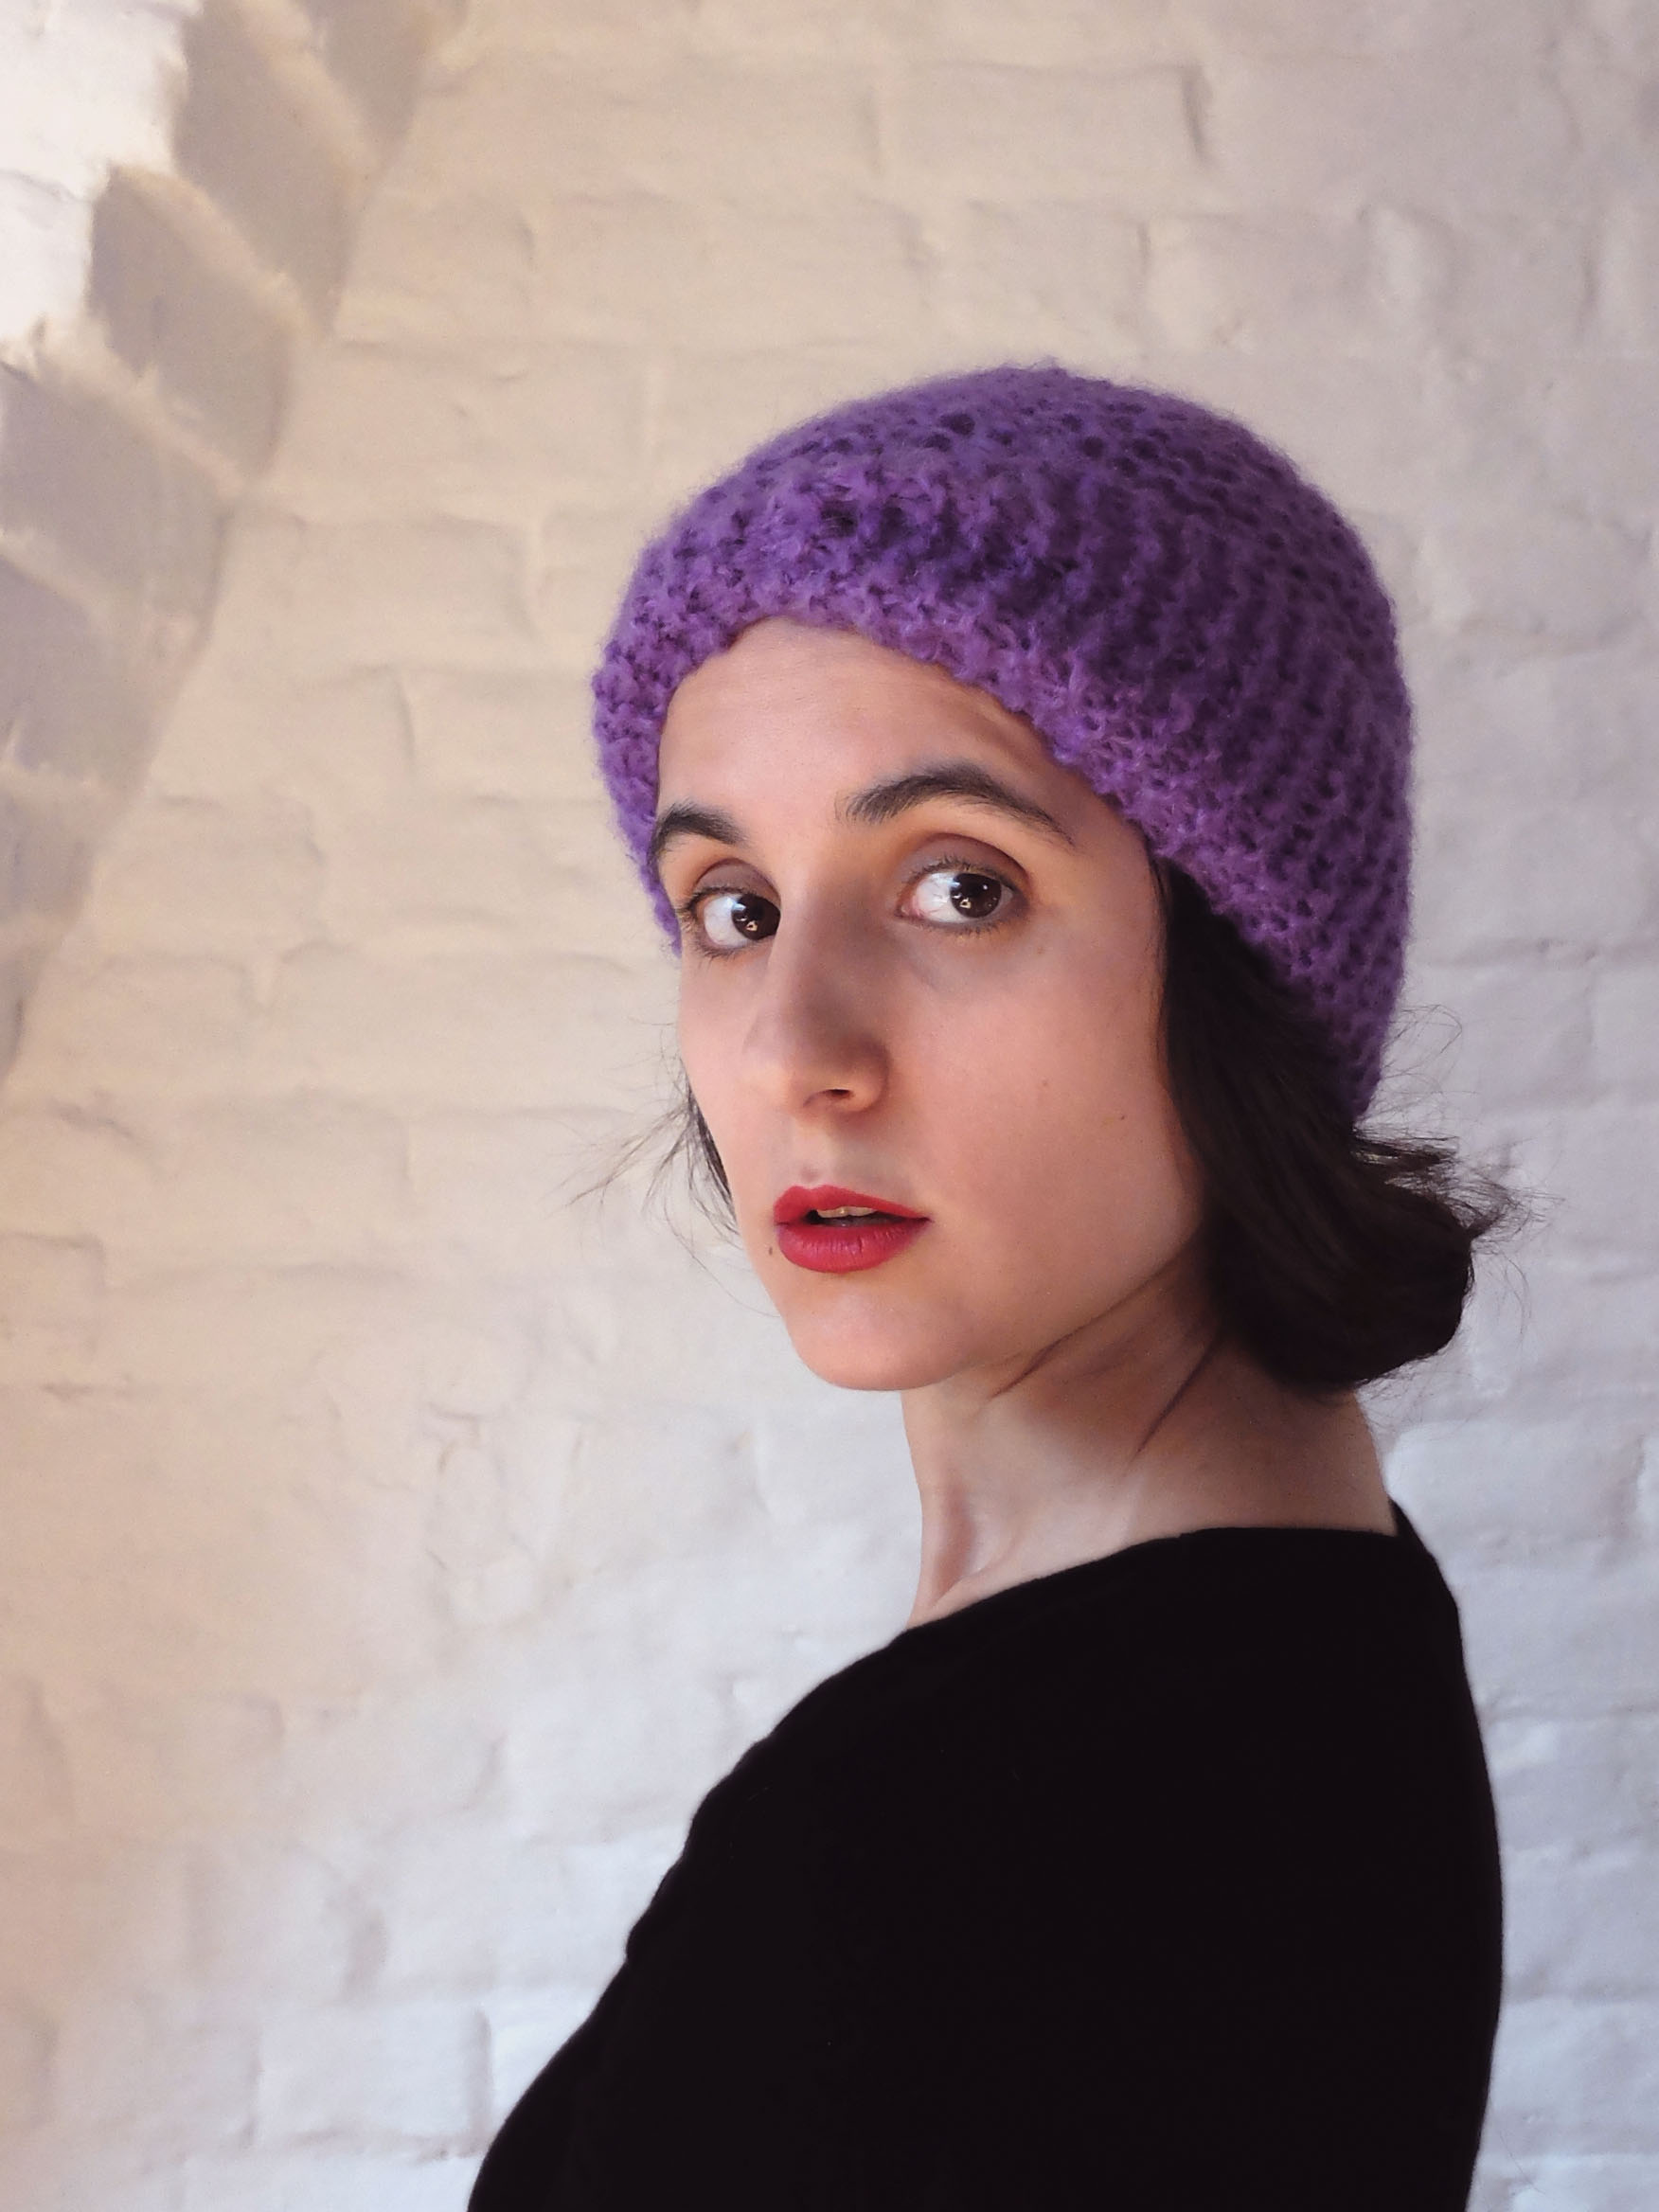
You can’t really make out any details in the pictures of me wearing the hat, especially since the black felt blends in with my hair, but at least you get an idea of how I wear it pushed back.

Columbus5

Petersham ribbon inside, at the base of the crown.

I moulded the crown of the hat on a simple hat block, then I flipped the brim upwards and hand sewed some millinery wire all around the edge (which you can see in this picture – it’s the white stuff around the brim) for it to keep its shape. This is where I took a more-than-one-year break.

Then I hand sewed some velvet ribbon around the edge of the brim to cover the wire and some petersham ribbon inside the hat so that it hugs the head and doesn’t flop around.

Columbus2I wonder if someday it will stop feeling like magic to be able to make a hat that’s in my imagination come true?

Brand New Leopard-Skin Formerly Pill-Box Hat

Leopard2During my millinery training, I made quite a few hats only to learn new techniques and not because I really wanted to make those particular hats. As a result I ended up with a small number of hats that I never wore and that were gathering dust (hats are dust magnets!) and… that started serving as nests for moths, eeew!

Leopard3
So one night I suddenly decided to take action and either simply throw away what had to be or clean and transform what I thought had potential.
Among the dusty wrecks was this leopard pillbox hat:

LeopardBefore
I thought the leopard print was fun (even though I hadn’t really chosen it when I made the first hat) but that print coupled with that shape looked too matronly to my liking and so I had never worn it, not even once. Come to think of it, I had never even taken the time to add the comb it needed to stay on the head.

Leopard4
I unpicked the petersham ribbon from the inside of the hat and washed everything thoroughly with warm water and soap. That’s what I did for the refashions of my collection and so far I’ve never encountered a problem with that method, be it with felt or straw.

Leopard5
Since the felt was already wet, there was no need for steam and I immediately shaped it on a block. I could have dried it with a blow dryer but I was in no hurry so I let it dry naturally for two days before I took it off the block. After that I added some millinery wire to strengthen the edge of the brim and I covered that with black bias binding, then I added the decoration (I guess all of my hats must sport either flowers or a bow of some sorts) and finally I sewed on the petersham ribbon inside (the old one was just a touch too short so I used a new length), and then I had a new hat!

Leopard6
It actually took me almost two weeks to finish the hat, but that’s because I did not work on it every day. Otherwise I guess it could have been made in two sessions, or maybe even one if I had used a blow dryer instead of leaving it to dry naturally.

Leopard7
Now we’ll see whether or not I wear this new hat more than the old one… Only time will tell! But one thing is for sure, now I store all of my wool hats (except for the ones I wear really often) in hat boxes. So much cleaner, duh!

Leopard1

A Week Of Hats: Que reste-t-il de nos amours?

QueResteTIl1And here’s the last hat of the collection! There’s something of a déjà vu, no? It’s pretty much the same pattern… in that there’s no pattern: I didn’t take any notes the first time I made this hat, and of course I didn’t think to take any notes the second time around! This was more of a try on as you knit thing.

QueResteTIl2And it’s not exactly the same hat either: the turban part of the first one I knit was detachable whereas the turban part of this one is attached to the hat. I actually always wore the first hat with the detachable band on and I lost it and haven’t used the hat since, so I thought it would be better for that version to be in one piece.

QueResteTIl3It was not made in one piece though: I knit a hat (with ribbing at the bottom for it to fit comfortably) on the one side and a turban band on the other side and I joined them afterwards by sewing their bases together.

QueResteTIl4This was an easy hat to knit, and I held the yarn double so it was a pretty fast knit, too, but what was most difficult was unravelling the original sweater to make it into usable balls. The yarn has a mohair quality to it and the sweater had been worn and washed a lot since it was knit at the end of the 1980s, so this was not an easy feat!

QueResteTIl5Turbans were a very popular style during the 1940s so I wanted to include one in my collection, and I also knew I wanted a sewn hat and a knitted hat for my two techniques free of choice, so I thought a knitted turban would be fitting. The result also has a 1920s look to it, I think it will depend how I style it in the future.

QueResteTIl6I named this last hat after this song, another one of my favourites and the epitome of a cold weather song.

And that’s it for the collection, thank you so much for reading!

A Week Of Hats: La Mer

LaMer1Tired of looking at my face yet? I know I am! Let’s concentrate on the hat then. At first I had planned to make a very simple sailor hat, as if borrowed from a sailor by his girlfriend, but then I thought this would be pure reproduction, not creation, so I started thinking about other options.

LaMer2And then it hit me: a lady sailor hat! So I made it smaller, in a more triangle shape (note that at first I wanted the tip of the triangle at the front, but when trying on the hat mid creation I found it looked better the other way around) and I added a fabric covered button at the intersection of the panels and most importantly a perky bow at the back.

LaMer3By some stroke of luck, drafting the crown panels went effortlessly, but the brim, not so much… I spent more than two hours drafting and redrafting and redrafting it again and again, losing my mind in fancy calculations involving the radius of a circle and whatnot, only to realise the pattern piece I needed was… a long rectangle! :-/

LaMer4Once I had that figured out, everything went smoothly. Most of the hat was sewn by machine, the only things I did by hand were attaching the buttons (the fabric covered one outside and a flat one inside), the bow, the lining and the petersham ribbon, and adding little thread loops to fasten the elastic inside the hat.

LaMer5I have already worn this hat once this week (with this dress) and it felt secure on my head, even when I was biking in the wind! Millinery elastic is my favourite way of attaching a hat, which is why I used some on each of the hats of the collection. It’s very secure, yet invisible (especially on dark hair with volume of course, but I’ve also seen it work really well on very short lighter hair).

LaMer6The song that gave its name to this hat is this one, and I guess the reason why I picked it is pretty self-explanatory!

See you tomorrow for the last hat of the collection!

A Week Of Hats: Mam’zelle Clio

MamzelleClio1Last year in millinery class, we learnt to make a fabric hat on a buckram base. I chose a base similar to the one I would later choose for my Hollyburn hat and I used red lace and lining remnants from this dress. It was an exercise, so the result was far from perfect, and the hat got pushed to the back of a cupboard were it got crushed under other objects.

MamzelleClio2I decided to salvage the fabric (and batting!) of the hat to make another one with some new buckram I would buy, and while taking it apart I thought I should try and see whether or not it would be possible to reuse the buckram, too. I was far from convinced it would work, but once wet, the buckram could take any shape I wanted it to take as if new!

MamzelleClio3So I was able to block the top part of the old hat into a new base, and the side/bottom part into some sort of bow (that everyone but me seems to see as a propeller! 😀 ). There is some millinery wire reinforcing the edge of the hat itself and the edge of the bow.

MamzelleClio4The hat once again stays on the head thanks to a piece of millinery elastic, and its inside is finished with some matching red lining and a piece of petersham ribbon (both also salvaged from the original hat).

MamzelleClio5This is not the kind of hat that is very easy to wear on a daily basis, but I think it can be fun to wear on special occasions nonetheless. Its name comes from this song, because both the song and the hat have a silly side to them.

MamzelleClio6

A Week Of Hats: Y’a d’la joie

YaDlaJoie1Remember the old hat covered in dust (and other things much worse than dust!)? Once cleaned and treated with stiffener, the straw looks totally different: stiffer of course, but also less grey and much glossier.

YaDlaJoie2I dreamed of a hat of this shape for my collection because to me there’s no shape more typical of the 1940s than a hat that forms that kind of aureole framing the face, and I was lucky enough to find the brim block I needed at school.

YaDlaJoie3The hat is made of two pieces, the brim in that aureole shape and the crown shaped using only the top of a simple round block as it’s not deep at all. It was not easy getting the two parts to conform to each other afterwards, but I did manage it in the end. It was also not easy sewing anything to that straw, be it the flowers all around the crown or the petersham ribbon inside the hat. I could not stop the thread from getting caught on every irregularity of the straw and consequently forming annoying knots all the time.

YaDlaJoie4But the important is, the hat once more looks like what I had in mind, so it doesn’t matter if the realisation was a bit tedious at times. I also love the effect of the flowers, even though they cost me an arm and a leg! They were actually one of the rare things I had to buy for my collection, so the contrast was even more glaring since most of the hats cost me about €1 each in material (that’s if I’m not including the time it took me to get the materials in a usable state of course).

YaDlaJoie5Once again there are no pictures of the inside of the hat, but there’s a brown petersham ribbon as a sweatband, and both millinery elastic and a comb for the hat to securely stay on the head as it’s a bit heavier than the other ones.

YaDlaJoie6The name is another song (this is the least kitschy video I found of this song, imagine the other ones!) by Charles Trenet, which I think matches the exuberant character of the hat. I want to have an old-fashioned colourful picnic in that hat!

A Week Of Hats: Verlaine

Verlaine1As you may recall, the first hat I made for my Make Do and Mend collection was a winter hat. It used to be a beret, which I bought a few years ago in a thrift store because I liked its style and colour, yet never wore because it was in fact too big for my head.

Verlaine2As soon as I chose the theme of my collection, I knew I would be using this hat. I also knew the shape I wanted it to take, I just wasn’t sure how to embellish it. In the end I settled on the simplest of my ideas, which was to finish the edge of the brim with store-bought bias tape and to decorate the crown with the same bias tape and a cluster of the felt flowers (cut from the same felt as the hat itself) that were spread all around the original hat. I debated using shiny thread, either green or gold, to sew the flowers on, but once again I preferred to keep it simple and chose matching thread in the end.

Verlaine3These are the pictures I put in my presentation album, so they don’t show the inside of the hat, but I was able to reuse the petersham ribbon of the beret. There’s also a piece of millinery elastic attached inside the hat, which helps invisibly fastening the hat on the head.

Verlaine4To shape the hat I used a cylindrical block… and a table: once I had gotten the crown I wanted, I carefully shaped the brim on a table so that it would lay nice and flat. I had to be very careful not to distort the crown in the process. It would have been much easier to make the hat in two separate pieces, but I wanted to see if it was even possible to do it in one… and with a little bit of patience it was, so no regrets there!

Verlaine5I was going to write that I’m really happy with the result of this hat, but I’m afraid to sound like a broken record because I’m pretty sure I’m going to want to write that about all the hats of the collection! But seriously, it’s pretty thrilling to see your vision take shape and get to make exactly the hat you had in your head!

Verlaine6One more thing before I let you go, I gave each hat of the collection the name of a song by French singer Charles Trenet. He’s one of my favourite singers (yep, I was born an old lady!), one I usually listen to a lot while sewing/knitting/hatmaking, and so typical of the 1940s that I could not resist paying him that little homage. The song Verlaine is one of my favourite songs in the whole world, and I thought it suited this hat very well with its autumnal imagery.

A Week Of Hats

CollectieStand

Collection display for my presentation.

I was still frantically cutting and pasting some pictures and writing in the presentation album a mere two hours before my assignment was due, but I actually finished my hat collection on time, woohoo! The making of the hats went pretty smoothly and I had no problem sticking to my schedule (as long as I cut my normal sleeping time by at least 30% and my rest/leisure time by 100%!); shooting the hats went without a hitch, too, but the presentation album, oh my!

MakeDoMendBreien

Inspiration page for a knitted turban style hat made from an old cardigan.

Everything that could go wrong, went wrong: from missing supplies (I usually buy way too much everything just to be sure not to run out, this must have been the first time I didn’t buy enough: photo paper, kraft, photo corners, you name it!), for which I had to wait until Monday for the store to be open, to a printer that started acting out to the point that I had to pay an emergency visit to my father and his printer because it looked like there was no way mine was going to cooperate and print any picture, let alone thirty decent ones! The silver lining is that my father’s fancy printer achieved much better results than I could ever have hoped with my average one. One of the perks of having a graphic designer as a father. 🙂

Taking apart a hat I made last year in class as practice to make it into another one.

Taking apart a hat I made last year in class as practice and making it into another one.

And I did manage to finish on time, so everything’s well that ends well! Also, it’s very rare for me to be so satisfied with a project of mine, so I can’t wait to show you everything in more details. I’ve decided to give each hat its own article, which means next week is going to be hat week here, with a hat a day every weekday! So if you don’t care for hats, next week might be a good time to take a Rue des Renards break! 😉

A karate kimono becomes a lady sailor hat!

A karate kimono becomes a lady sailor hat!

I’ll see you on Monday with the first hat of the collection!

Hat Collection: Summer Hat Sketch

MakeDoMendZomerWow, it took me more than a month’s time to scan it, but here it is at last, the preliminary sketch for the summer hat of my hat collection! As per my self-imposed rule, I’m using only second-hand materials, so the basis for this hat was an old (and not in the good sense!) straw hat literally covered in… moth droppings! [Cue horror scream]

I hadn’t realised that when choosing this hat of course, and I’m pretty sure if I had known it I would have run for my life and looked for another option, but since I found myself at school with only this hat to work with, I didn’t really have any choice but to make do (and mend! 😀 ). So I started by thoroughly (and I mean thoroughly!) washing it with soap and water, thinking it wouldn’t be a huge loss if it got the hat ruined after all. And after a few (hundred) washes, the water went from dark grey to transparent and I could begin to mold the hat into a new shape.

I’m actually almost finished with this hat now: I only need to add a few more flowers, the sweatband and some system to fasten it on the head. I bought a bunch of those old (in a good sense this time!) flowers in an antique clothing shop, thinking I’d have plenty enough and maybe more to get the lush flower crown I wanted to adorn the hat. But nope, I need to go buy even more! The good news is, even without the missing flowers, I can already tell what the hat is going to look like, which is pretty much exactly what I had in mind!

After that, only three more hats to make in, ahem, less than a week and a half. Oh, and let’s not forget I also need to make a presentation album of my collection. Time to get panicking I guess!

Hat Collection: Make Do and Mend

MakeDoMendIt’s so weird to think that, in less than two months’ time, I’ll graduate as a milliner… In order to do so, each student has to present a small collection of hats around a theme. I hesitated between a few themes for some time, but none of them really convinced me. Then I thought about the theme I would finally choose, which is, as you might have guessed from the title of this article, Make Do and Mend, and it was kind of an epiphany since it combined two of my main obsess… I mean, interests, vintage fashion and upcycling.

So the plan is to make some 1940s inspired hats only using second-hand materials, with a few exceptions such as thread and other notions that would be too difficult, if not impossible, to source in the second hand market.

The assignment is to make five hats: a winter hat, a summer hat, a hat on a buckram base (the buckram is one of the things I’ll have to buy new) and two hats made with free to choose techniques. I was thinking about knitting for one of those last two (I think I could find a sweater whose yarn I might be able to repurpose), but nothing’s set in stone yet!

For the time being I only have started on the first two hats (the winter and summer ones), but I wanted to share the process with you before the end for once. So here are the first two pages of my inspiration notebook: the one you see above is simply the front page, where I sketched without thinking too much some hat shapes that evoked the forties to me. And the one below is the inspiration page for the first hat: some pictures of the hat I would transform and some drawings I made to decide what the final hat would look like. As for the summer hat I started, I haven’t finalised the inspiration page yet, but I’ll share it with you as soon as I do.

MakeDoMendWinterThe winter hat will almost certainly look like the simplest of the drawings, the one that’s on the head. I tried various ribbon combinations but I quickly realised I prefer to let the felt flowers be the focus. And I’m pretty chuffed that I’ll probably even be able to reuse the petersham ribbon from the original beret inside the new hat! I just need to wash it I think, and it’ll be good to go!

I’ll keep you posted on my progress!