Navy Hetty

NavyHetty1
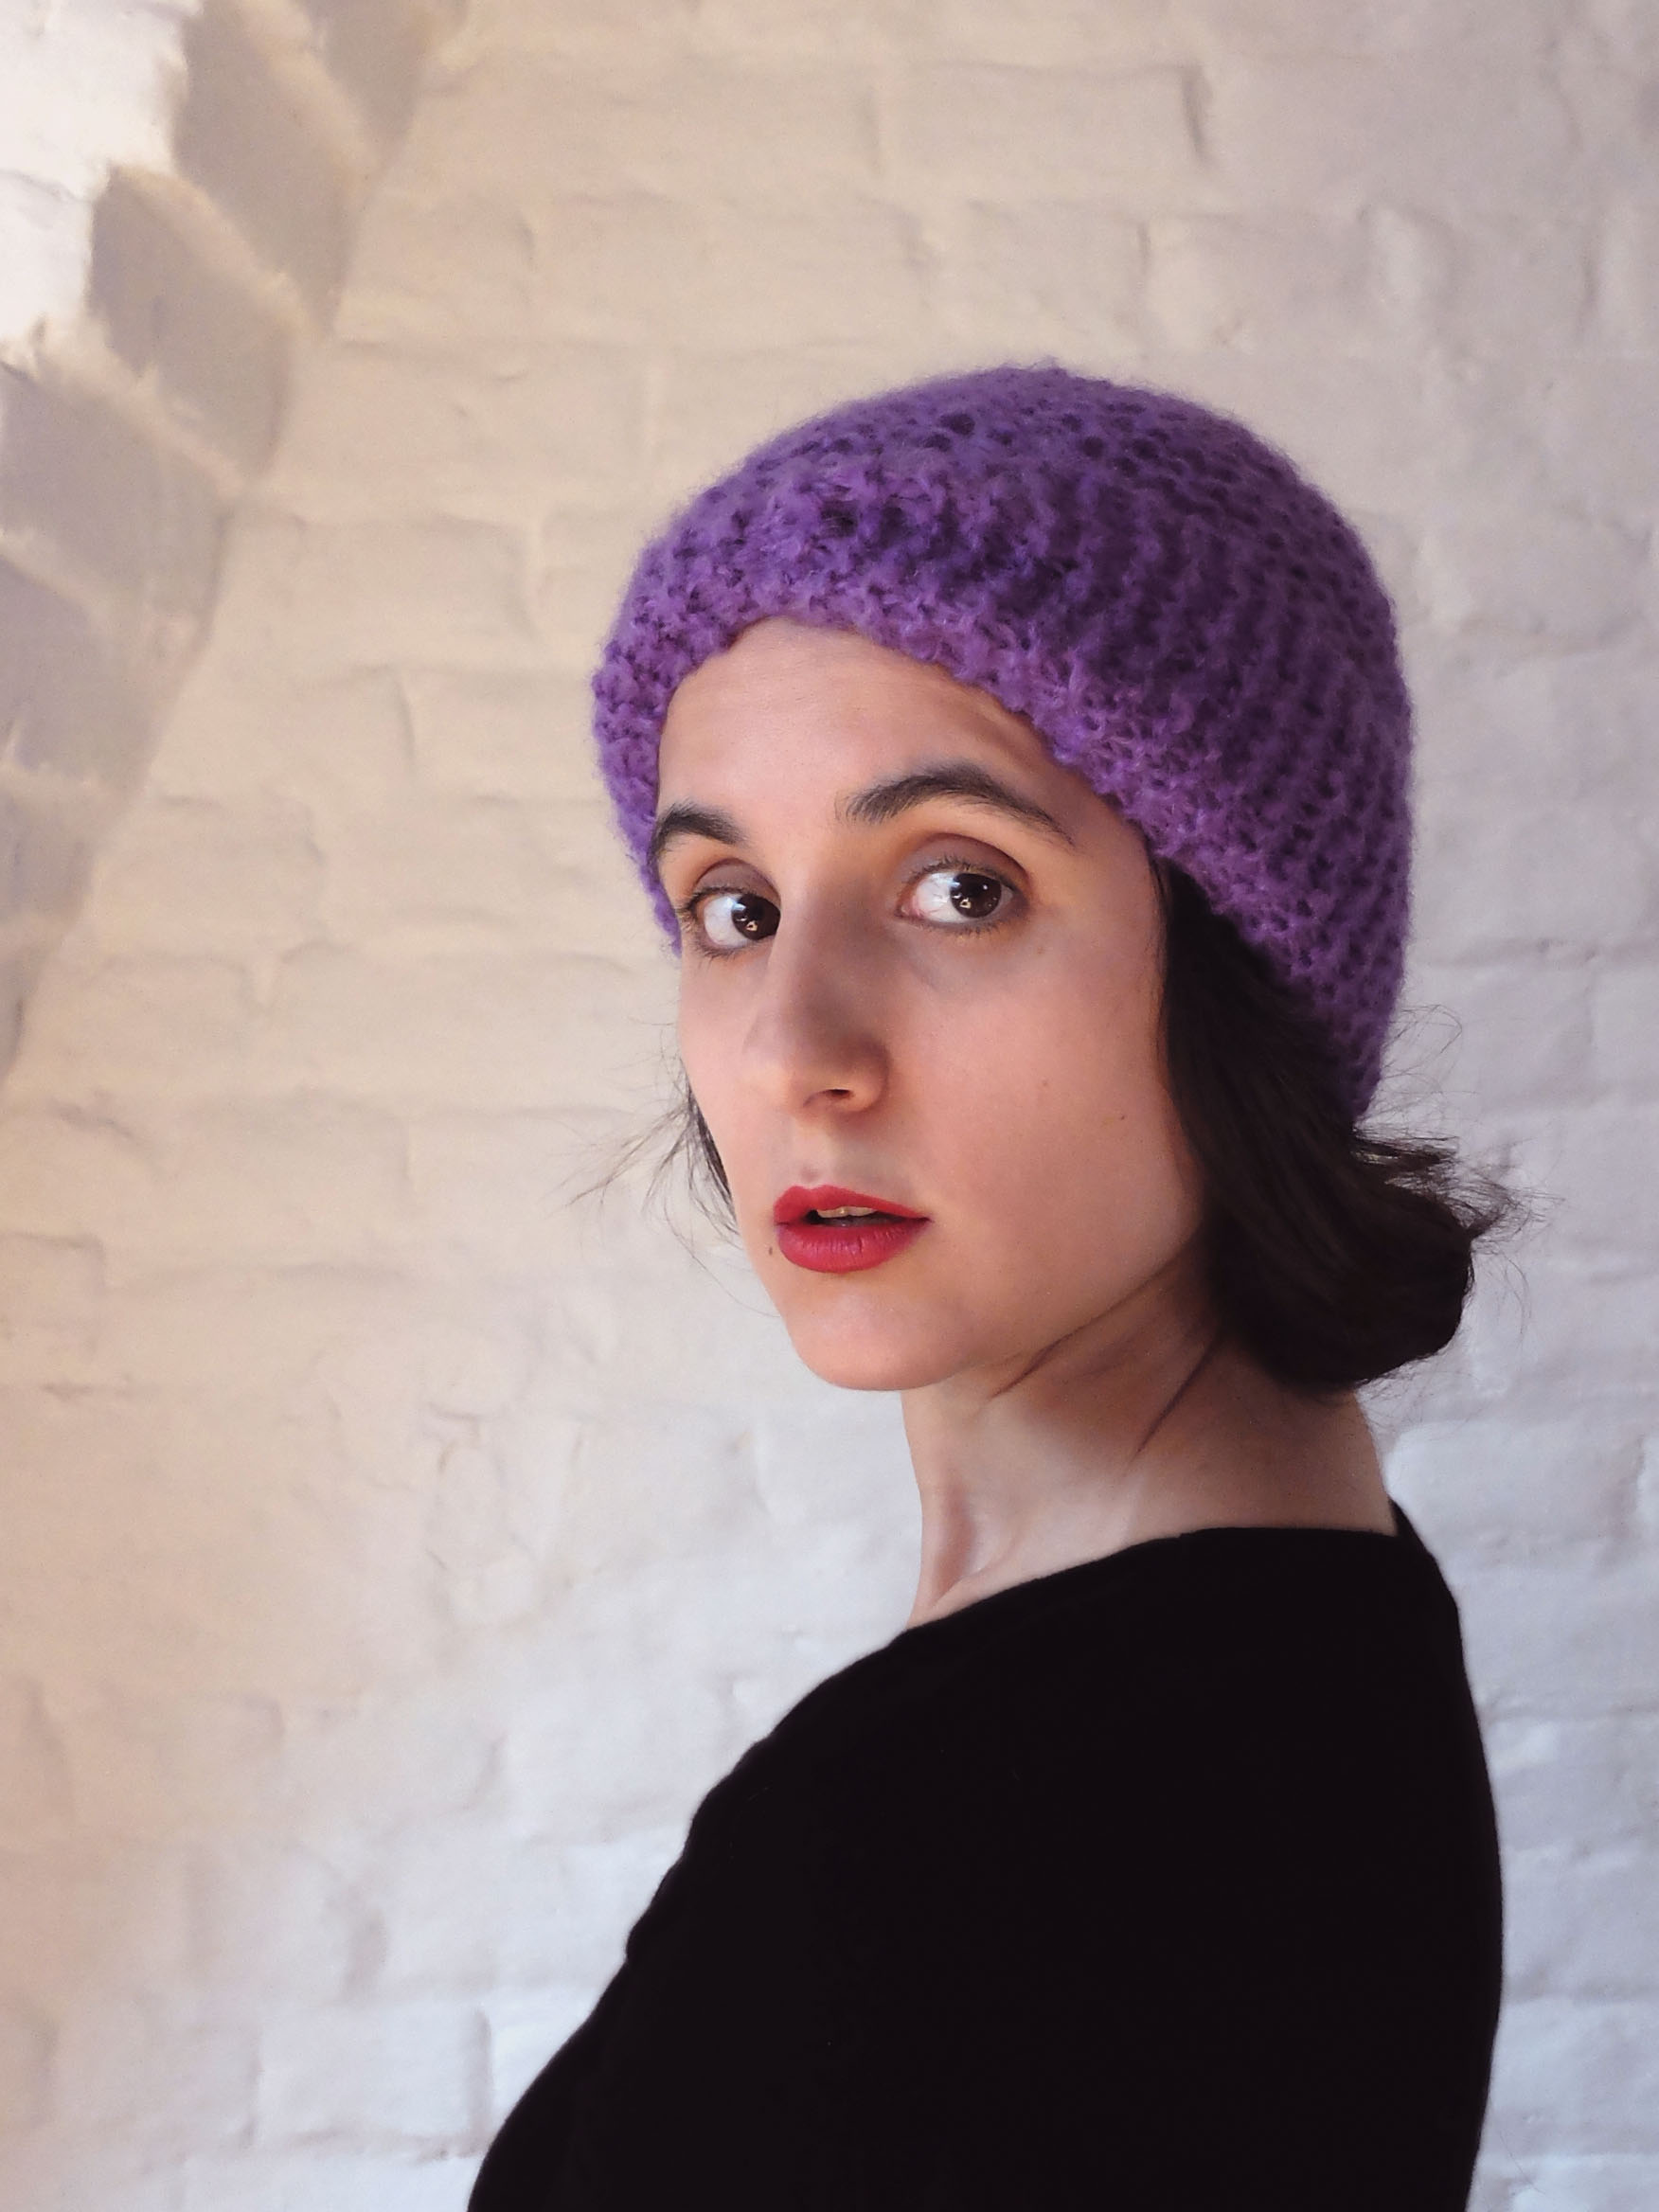
It was HOT when I took these pictures, not the ideal weather to be wearing a 3/4 sleeve dress and a wool cardigan! But I was so happy for this cardigan to finally be over that I couldn’t wait for the weather to get colder before I took the pictures.

NavyHetty2I started knitting this cardigan at the very beginning of June, thinking I would be finished in no time. I thought I would knit it in about two weeks, ha! But when I reached the end of the body, I realised my gauge was tighter than I thought and I was probably going to end up with a too small cardigan seeing how tiny the body looked.

I was determined to start from scratch, but not very motivated to do so, so I let it rest for a few days. Then I read on lladybird’s blog that it was probably supposed to look that tiny before blocking, so I changed my mind and chose to go on with the same gauge/size after all.

NavyHetty3Still, I couldn’t shake the fear that I was in fact knitting a kiddie size cardigan (Mimolette laughing her ass off every time she saw how tiny it was didn’t help that fear either! 😉 ), so I lost part of my motivation. That and a very busy month of June meant that there were a lot of days where I didn’t even touch my knitting needles. Oh, and I had to start the first sleeve all over again because I had made a stupid mistake in the way I knit my yarn overs in the round.

NavyHetty4But the Hetty is such a fast knit that, even by knitting one row here, one row there, it was not that long before a whole cardigan fell off my needles.

I added two repeats of the pattern at the end of the sleeves and four rows to each button band to compensate for my gauge being so different from the pattern, but I didn’t add any length to the body because I usually need to shorten my other sweaters/cardigans.

I also picked up way more stitches than recommended (85 instead of 61!) for the button bands, thinking that way it would be easier to stretch them when blocking the cardigan. This meant adding some buttonholes, too: I made eleven instead of eight. Same with the neckband, I picked up 98 stitches instead of 78.

NavYHettyDétailI should have taken a picture of the cardigan before I blocked it (I finished it at night and I didn’t have the patience to wait for the morning light to block it) but believe me when I say it was kid sized: pre-blocking, I think it would have fit a four-year-old!

I can’t tell you how relieved I was when I tried it post-blocking and saw that it fit! It’s very short, but it hits me exactly where I wanted it to, right at the waist! The sleeves too are the perfect length. The whole sweater could stand to be a bit wider though; it is very tight. But luckily it is not so tight that it’s uncomfortable, and as you can see I can wear it over a dress with sleeves.

NavyHetty5You may remember this was the first part of my OAL participation. I’m thinking about changing my plans for the matching dress: I still want to use the same fabric, but I’m having second thoughts regarding the pattern. With the hot weather in Brussels right now and the fact that I’m going to Spain in August, I was thinking about replacing my chosen pattern with the Colette Parfait dress. Right now I have more use of a sundress with straps, so unless I don’t have enough fabric for the Parfait, I think I’ve made up my mind!

A Dash of Rainbow

Rainbow2Hey, I made something that doesn’t go on the head!

These past weeks I had been craving some sewing time like you wouldn’t believe, yet when I was finally relieved from all of my obligations I found myself actually dreading and postponing my getting back to sewing, like I was afraid I wouldn’t even know where to begin and I would end up with a failure that would put me off sewing altogether.

Rainbow1So I decided on a pattern I’ve made before and I know fits and is easy, the Renfrew. With the warm weather we’d been having (where is that warm weather now?! It’s been raining non stop for days!) I came to realise that my summer wardrobe, me-made or otherwise, was almost non existent (Mr Picky begs to differ). I need summer dresses, skirts, tops, shorts, everything!

Rainbow3I started with a summer Renfrew dress: short sleeves, gathered skirt and a lot of ease at the waist to let that summer breeze in. To get that result at the waist, I didn’t use any elastic for gathering, I just gathered the regular way (but with only one row of thread instead of three so that it would be easier to get rid of that seam) then serged the seam, hoping the gathering row would be cut off by the serger knife. Worked like a charm.

Rainbow7As per usual I “drafted” (such a pompous word for what was actually involved) my own neckband piece, and I also omitted the sleeve bands for the sleeves not to stick to the arms (here’s that summer breeze again!). And as per usual I added some simple patch pockets, because I need pockets on my dresses and I like the look of patch pockets, they help visually structure the skirt.

Rainbow4As you can sort of see in the picture above (and clearly see in the two pictures below), the dress seems solid from the front, but it’s not, there’s a suprise rainbow at the back! I love that detail: the dress looks so classic at first sight (and if I wear a cardigan over it), but it has that little something special.

Rainbow6This was really the perfect project to get back on my (presser, mwahaha!) feet. I’ve already been wearing it almost everyday, though only once styled exactly as in the pictures. The rest of the time it had to be accompanied by tights (in July!), a jacket and rain boots.

Rainbow5And from as soon as I started working on it, but even more so since I finished it, I’ve been feeling ready to tackle projects that are a little more challenging, i.e. ones that I haven’t already sewn before. The next one, which I’m working on at the moment, is a chambray Centaurée dress!

Enregistrer

A Week Of Hats: Que reste-t-il de nos amours?

QueResteTIl1And here’s the last hat of the collection! There’s something of a déjà vu, no? It’s pretty much the same pattern… in that there’s no pattern: I didn’t take any notes the first time I made this hat, and of course I didn’t think to take any notes the second time around! This was more of a try on as you knit thing.

QueResteTIl2And it’s not exactly the same hat either: the turban part of the first one I knit was detachable whereas the turban part of this one is attached to the hat. I actually always wore the first hat with the detachable band on and I lost it and haven’t used the hat since, so I thought it would be better for that version to be in one piece.

QueResteTIl3It was not made in one piece though: I knit a hat (with ribbing at the bottom for it to fit comfortably) on the one side and a turban band on the other side and I joined them afterwards by sewing their bases together.

QueResteTIl4This was an easy hat to knit, and I held the yarn double so it was a pretty fast knit, too, but what was most difficult was unravelling the original sweater to make it into usable balls. The yarn has a mohair quality to it and the sweater had been worn and washed a lot since it was knit at the end of the 1980s, so this was not an easy feat!

QueResteTIl5Turbans were a very popular style during the 1940s so I wanted to include one in my collection, and I also knew I wanted a sewn hat and a knitted hat for my two techniques free of choice, so I thought a knitted turban would be fitting. The result also has a 1920s look to it, I think it will depend how I style it in the future.

QueResteTIl6I named this last hat after this song, another one of my favourites and the epitome of a cold weather song.

And that’s it for the collection, thank you so much for reading!

A Week Of Hats: La Mer

LaMer1Tired of looking at my face yet? I know I am! Let’s concentrate on the hat then. At first I had planned to make a very simple sailor hat, as if borrowed from a sailor by his girlfriend, but then I thought this would be pure reproduction, not creation, so I started thinking about other options.

LaMer2And then it hit me: a lady sailor hat! So I made it smaller, in a more triangle shape (note that at first I wanted the tip of the triangle at the front, but when trying on the hat mid creation I found it looked better the other way around) and I added a fabric covered button at the intersection of the panels and most importantly a perky bow at the back.

LaMer3By some stroke of luck, drafting the crown panels went effortlessly, but the brim, not so much… I spent more than two hours drafting and redrafting and redrafting it again and again, losing my mind in fancy calculations involving the radius of a circle and whatnot, only to realise the pattern piece I needed was… a long rectangle! :-/

LaMer4Once I had that figured out, everything went smoothly. Most of the hat was sewn by machine, the only things I did by hand were attaching the buttons (the fabric covered one outside and a flat one inside), the bow, the lining and the petersham ribbon, and adding little thread loops to fasten the elastic inside the hat.

LaMer5I have already worn this hat once this week (with this dress) and it felt secure on my head, even when I was biking in the wind! Millinery elastic is my favourite way of attaching a hat, which is why I used some on each of the hats of the collection. It’s very secure, yet invisible (especially on dark hair with volume of course, but I’ve also seen it work really well on very short lighter hair).

LaMer6The song that gave its name to this hat is this one, and I guess the reason why I picked it is pretty self-explanatory!

See you tomorrow for the last hat of the collection!

A Week Of Hats: Mam’zelle Clio

MamzelleClio1Last year in millinery class, we learnt to make a fabric hat on a buckram base. I chose a base similar to the one I would later choose for my Hollyburn hat and I used red lace and lining remnants from this dress. It was an exercise, so the result was far from perfect, and the hat got pushed to the back of a cupboard were it got crushed under other objects.

MamzelleClio2I decided to salvage the fabric (and batting!) of the hat to make another one with some new buckram I would buy, and while taking it apart I thought I should try and see whether or not it would be possible to reuse the buckram, too. I was far from convinced it would work, but once wet, the buckram could take any shape I wanted it to take as if new!

MamzelleClio3So I was able to block the top part of the old hat into a new base, and the side/bottom part into some sort of bow (that everyone but me seems to see as a propeller! 😀 ). There is some millinery wire reinforcing the edge of the hat itself and the edge of the bow.

MamzelleClio4The hat once again stays on the head thanks to a piece of millinery elastic, and its inside is finished with some matching red lining and a piece of petersham ribbon (both also salvaged from the original hat).

MamzelleClio5This is not the kind of hat that is very easy to wear on a daily basis, but I think it can be fun to wear on special occasions nonetheless. Its name comes from this song, because both the song and the hat have a silly side to them.

MamzelleClio6

A Week Of Hats: Y’a d’la joie

YaDlaJoie1Remember the old hat covered in dust (and other things much worse than dust!)? Once cleaned and treated with stiffener, the straw looks totally different: stiffer of course, but also less grey and much glossier.

YaDlaJoie2I dreamed of a hat of this shape for my collection because to me there’s no shape more typical of the 1940s than a hat that forms that kind of aureole framing the face, and I was lucky enough to find the brim block I needed at school.

YaDlaJoie3The hat is made of two pieces, the brim in that aureole shape and the crown shaped using only the top of a simple round block as it’s not deep at all. It was not easy getting the two parts to conform to each other afterwards, but I did manage it in the end. It was also not easy sewing anything to that straw, be it the flowers all around the crown or the petersham ribbon inside the hat. I could not stop the thread from getting caught on every irregularity of the straw and consequently forming annoying knots all the time.

YaDlaJoie4But the important is, the hat once more looks like what I had in mind, so it doesn’t matter if the realisation was a bit tedious at times. I also love the effect of the flowers, even though they cost me an arm and a leg! They were actually one of the rare things I had to buy for my collection, so the contrast was even more glaring since most of the hats cost me about €1 each in material (that’s if I’m not including the time it took me to get the materials in a usable state of course).

YaDlaJoie5Once again there are no pictures of the inside of the hat, but there’s a brown petersham ribbon as a sweatband, and both millinery elastic and a comb for the hat to securely stay on the head as it’s a bit heavier than the other ones.

YaDlaJoie6The name is another song (this is the least kitschy video I found of this song, imagine the other ones!) by Charles Trenet, which I think matches the exuberant character of the hat. I want to have an old-fashioned colourful picnic in that hat!