Red Hot Chardon

Chardon4Two Deer&Doe patterns down, six to go! Oh how I love those patterns…

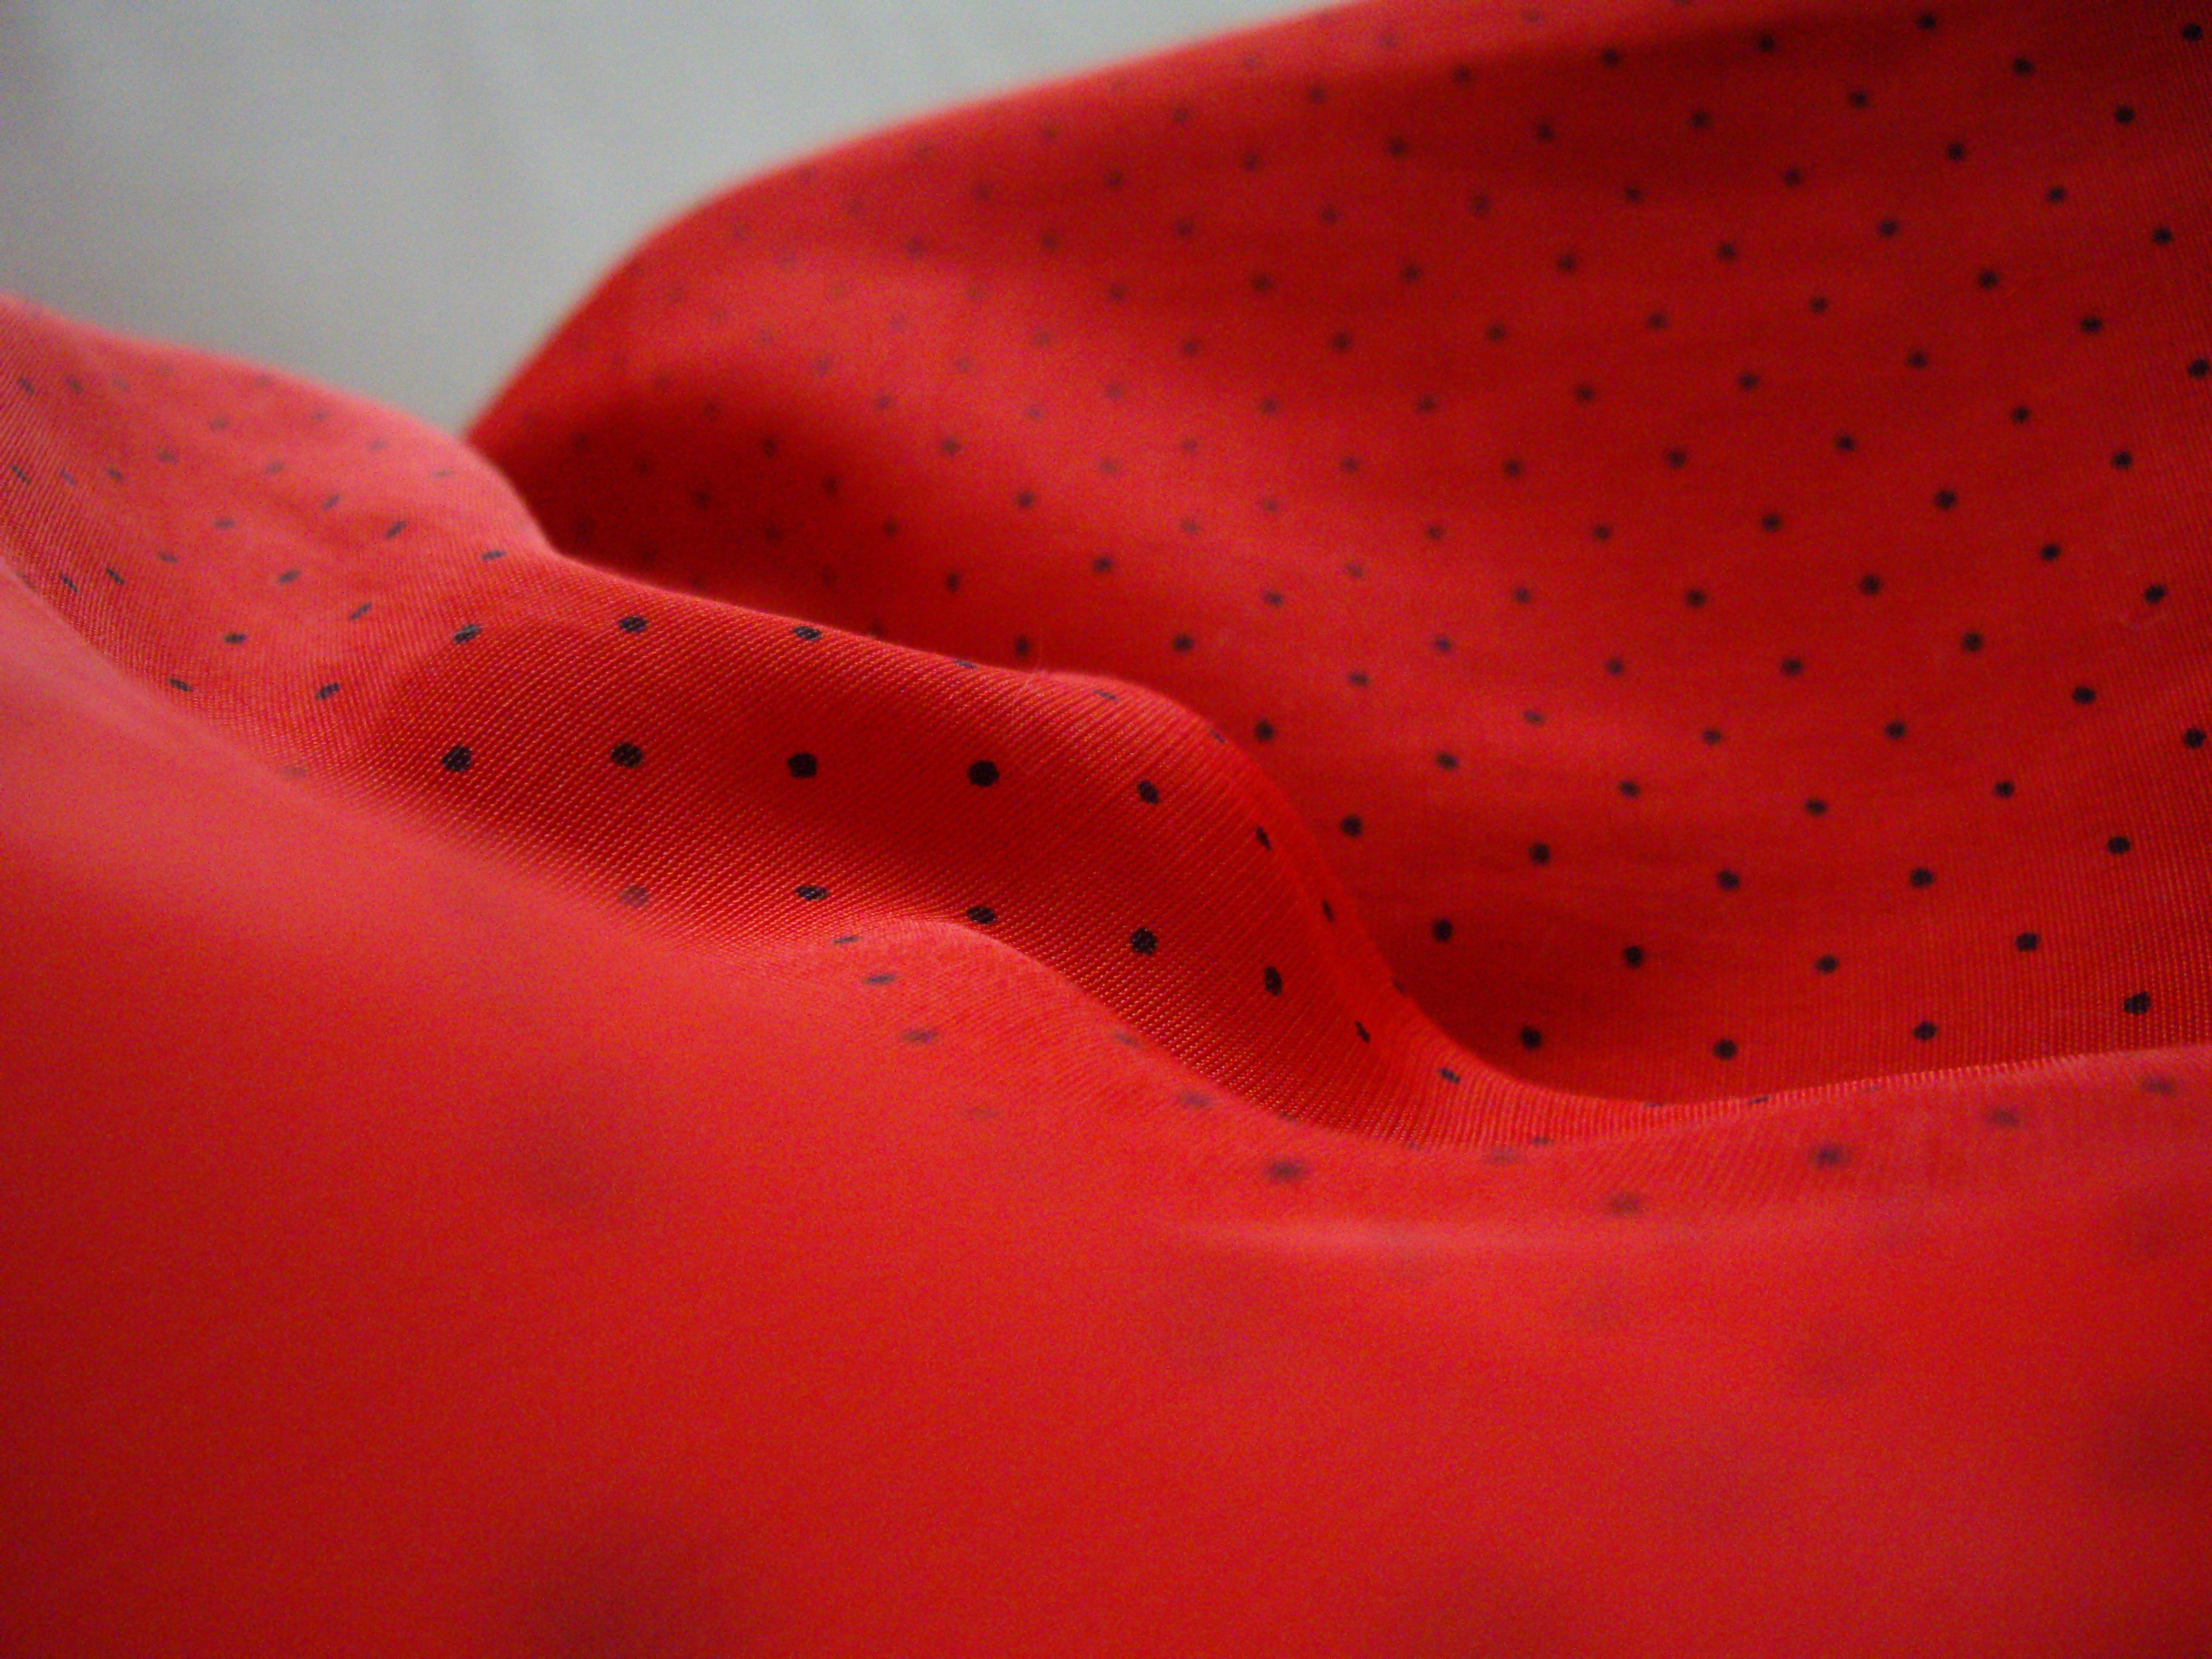
This is the Chardon skirt, of course. I made view 2, with the belt loops. I used a red cotton sateen with subtle stripes from Sacrés Coupons in Paris that I’ve had in my stash for a couple of years. The fabric has a slight stretch to it, which let’s hope won’t cause the skirt to stretch out of place (the interfacing I used should prevent that), and it was a joy to work with.

Chardon1The pattern, too, was a joy to work with. There were few pieces and the instructions were very clear. To the exception of the part that tells you how to attach the belt loops: the pattern doesn’t explain exactly how to sew the loops on. I had no problem doing that without the instructions, but the pattern is aimed at beginners and I know that as a beginner I would have been kind of lost.

Chardon2The skirt was really easy to put together, if not a bit time consuming when it came to the pleats. But I’m a very slow sewer, so this might be just me… About the pleats, looking at the pictures I realise I might have done a better job at pressing them before the shoot. Ah well, I’ll do that before wearing the skirt at least!Chardon3I cut a size 36 and the fit is spot on. I didn’t make any modifications. At first I wanted to add a lining, but I finally opted not to when I couldn’t find enough yardage in my stash. And I was really glad I didn’t bother with a lining when the time came to sew the zipper… I’m kind of zipper challenged, you see, so I had enough trouble inserting it without a lining! I almost gave up and hand-picked it instead of machine-stitching it, but I held on and I did manage to get a nice result in the end.

Chardon5I was afraid the waist would end up bulky because of the thickness of the fabric and the pleats, but it looks ok on the finished skirt. Though I had to understitch the waist facing and it still wouldn’t stay tucked inside so I invisibly hand stiched it to the waist, which solved the problem.

Chardon6My favourite part was finishing the hem with bias tape. It was so easy yet looks so nice! I’ll surely use that method in future projects. I used a red and white polka dotted bias tape which looks so cute against the red of the skirt even though it’s not exactly the same shade. Confession time: I had planned to use another bias tape (with another motif) whose shade was closer to that of the skirt, but I cut it too short… and then I couldn’t for the life of me sew two pieces together to get more length! I tried and I tried and got it wrong every time… so I finally gave in and went to buy some at the fabric store. I felt so lame! Oh, and of course there was a massive sale going on at the otherwise too expensive store, so I may or may not have bought a few metres of fabric that went to join a now overwhelming stash…

Chardon7Well, at least now I have a skirt I love (and cute new fabric to boot!) and I know I’ll be wearing a lot. I recently came to the realisation that, even though I consider red to be a wardrobe staple (it’s kind of a neutral, isn’t it?), I didn’t own any red pieces except for my new playsuit (do a T-shirt and an old frumpy cardigan really count?). So that’s one gap filled!

21st of July Playsuit

July21.1Remember I teased you about an upcoming refashion project? Well, it took me a looooong time, but I here it is at last!

July21.2

I heart pockets.

I almost threw in the towel numerous times on this one… At first I didn’t have a playsuit in mind but a dress, but it was impossible to get all the pattern pieces on the fabric. Then I thought of a playsuit after seeing one in a book I was reading, so I dug through old issues of Burda magazine and found this pattern. I thought it would be pretty easy to shorten the legs and add shoulder straps (I don’t do strapless), which it was. I also thought I would it would be easy to place the pieces of this small playsuit on the fabric of the huge eighties dress… which it was not.

July21.3

Do you see any bra straps showing? I don’t!

The dress was very old and there were holes and black stains in a few places, which made it a real headache to place every pattern piece on the fabric. I had to think about it for two whole days before I found a solution. And it was the layout that determined the length of the legs, so I was afraid the whole time that they would be too short.

July21.4You can see on the above picture that I used black seam binding inside the hem. It helped me keep as much length as possible. About the hem: I actually didn’t have a fabric piece big enough to cut the second leg, so I had to add a scrap of fabric to fill the gap. That scrap of fabric from hell was almost the end of me: I don’t know why (well, I think the grain must have shifted while sewing it or something), but it sat in a weird way that made the hem of the shorts awfully uneven. I don’t know how many times I had to redo that small part, but I was ready to give up.

Finally I got a tolerable result so I decided to power through… and now I don’t really see the problem if I’m not looking for it specifically. This is so often the case with my sewing projects: I obsess about a detail almost to the point of tossing the project away, but once I wear the completed project I completely forget about that detail…

July21.5I was really afraid such a playsuit would not suit my figure very well, so when I first tried it on I was relieved to see that it was actually pretty cute. I’m not used to seeing such an ample top on myself, but with the flowy fabric I think it works.

Also the length of the shorts had me doubt, but with the heat we’ve had these last few days I’ve gotten into the habit of showing my bare legs again and I don’t think it looks that scandalous.

July21.6I cut a size 36 for the top and graded up from a size 36 at the waist to a size 38 at the hips for the bottom. I have plenty enough room even though my hip measurement would be closer to a size 40. As regards the two elastics, I have no idea of their length because I pulled them around my waist/bust until I found them snug enough so I didn’t measure them.

I used black cotton voile for the pockets and for the wrong side of the shoulder straps. You can see it peek out from time to time, but I think it looks nice against the black polka dots (which, come to think of it, you can’t really see in the pictures because they are so small), so there’s no real problem here.

The buttons I used came from an old cardigan of mine.

July21.7I finished the playsuit yesterday, which was Belgium’s National Day, so it was quite suiting that I wore black, yellow and red, which are Belgium’s national colours! These are colours I don’t usually like together, but with only a touch of yellow (my rubber duck earrings, and you could also count my golden sandals and straw hat as yellow), I think it works.

So even though this won’t be my most worn garment (playsuits are not renowned for their practicality), I still find it cute and will most definitely wear it in the unexpected heat of this Belgian summer and in Spain where I’ll be spending three weeks in August.

Maybe I’m wrong, but I can also totally see it worn in Fall with black tights and a black cardigan… Or is it just me? Well, if the frail vintage fabric holds up until then, that is!

Enregistrer

Blue Stone Sweater

BlueStone1Man, do I love this shade of blue! I already own a cardigan in more or less the same colourway, but I couldn’t resist knitting this one. I also think it goes quite nicely with the black collar and buttons. I have been told many times that black and blue don’t belong together, but different strokes for different folks.

BlueStone2This sweater was a very fast knit (yay short sleeves, yay stockinette!)… until I reached the collar. As you can see in my ravelry notes, everything but the collar took me two weeks to knit, and then I spent two more weeks on this ridiculously small collar! I find knitting ribs a little tedious and so slow in comparison to stockinette, plus the weather suddenly got warmer and, contrary to the yarn used for the body of the sweater, which is made of summer appropriate fibers (cotton, linen and tencel), the one used for the collar is a wool/acrylic blend, which was a real pain to knit in the heat. So I only knit a few rows here and there and even put my work aside for a few days.

BlueStone3One month to knit a sweater, even a short-sleeved one, is not too bad, though. And I love the result! It’s really my style with the empire waist gathers and the cute collar and buttons. However, if I must be completely honest, I’ll admit I don’t know what to wear it with. I think it would look nice either with jeans, black slim pants, black shorts or a black skirt, none of which I own! Okay, I do own one pair of jeans but they really don’t fit me well… Now you’re probably wondering what I’m wearing in the pictures. I don’t know if I should really tell you, but those are, ahem, jersey harem pants from my belly dancing days! 😀 They were all I had that looked nice in the pictures, I swear!

Now I should sew myself a few of those basic black pieces I miss, but although I have no problem sewing basics, I don’t think there’s any black fabric in my stash. I never think to buy that kind of fabric because I’m always distracted by prints and colours when I’m at the store. I really should go with a few basics in mind for a change.

BlueStone4Well, back to my new sweater! I’ve already told you about the pattern and the yarn in my WIP post. The pattern was fairly easy (though I still hate seaming up knits with all my heart) and the main yarn was really nice to work with and it also seems nice to wear. If this had been my first time using the yarn of the collar, I don’t think I’d recommend it, but I’ve already knit a cardigan for my boyfriend with the same yarn and it was really pleasant to knit and went through many a machine wash without a hitch, so I’m thinking it was the heat (i.e. my sweaty hands – TMI?) and not the yarn itself that was the source of my problems (the collar began to pill a little while I was sewing it on).

BlueStone5The pattern asks for five buttons, but I only added three because that’s all I had in stock (taken from this dress!). And as a matter of fact I prefer it that way, so that was fate! The sleeves and bottom hem are finished with single crochet, which stops the edges from curling. I was really expecting the collar not to stay in place and having to tack its ends to the sweater, but I was pleasantly surprised to see it roll nicely around the neckline by itself.

Except for the fact that I don’t have anything to wear with it (yet!), this sweater is a success in my book! Plus it actually gives me an excuse to go and buy some fabric, so what’s not to love? 😀

Let There Be Sun

SeaI’m leaving today for a long weekend at the North Sea! 🙂

I was hoping I would be able to wear my last sewing/refashion project during my trip, but I couldn’t finish it on time. I didn’t want to rush through and end up with a botched up result, so I forced myself to stop and put the project aside until I come back. I’m so glad I did because I realise there was absolutely no way I was going to have the time to finish it properly and I know it would have ended up in tears! 😀

Have a nice weekend, I’ll see you next week!

Leather Bag Refashion

Bag1Looks like I’m on a refashion roll! I’ve had this leather bag for about fifteen years and I’ve been carrying it everywhere since. It was my mother’s in the eighties: she used it a lot, too, even on her wedding day! Oh, and she bought it second hand of course, so it has lived at least three lives… which explains why it was so damaged.

Bag2The front was completely scratched and the leather bias binding was crumbling in a lot of places. I knew I could use leather polish to restore the front, but I still had to find a solution for the bias binding.

Bag3Oh, and the strap loop had been missing for years, too. I had replaced it with a hair elastic. Very chic.

The bag began looking so beaten up I stopped using it altogether a few months ago. But I couldn’t resign myself to getting rid of it, not only because it used to be such a nice, practical bag, but also because of its history.

Bag4I didn’t see myself sewing leather bias, so I decided to change the look of the bag by using a liberty(-ish) bias binding instead. It’s bound to be less durable than leather, of course, but I like the look of the blue flowers with the leather of the bag, and I can replace it later if I ever feel like sewing leather.

Bag5At first I hesitated replacing the binding of the pocket because it was much less damaged than the outside one, but it wasn’t perfect either and the bag looked kind of weird with two different bindings, so I decided to replace it anyway. And I must say I love the way it looks now.

Bag6I sewed the bias binding by hand… because at first I didn’t realise I could sew it by machine. I thought about it after sewing the first part, but all in all I also thought the hand would give me more control to sew through the already existing holes in order not to damade the bag and to be able to change the binding more easily in the future. I used a green metallic thread that perfectly matched the green of the fabric.

As you can see I made a new strap loop with the same fabric bias  to replace the old elastic.

The principle of this refashion is so simple I even hesitated using the term refashion, but let me tell you that I finished it yesterday and my fingers still hurt from sewing by hand through leather, even though I mostly used the pre-existing holes. I used a thimble of course, but the thimble itself gave me a blister because my fingers were swollen from the heat and the effort…

But all is well that ends well, and I love my new old bag which I already used yesterday as soon as it was finished. Now let’s hope I won’t forgot to break out the shoe polish more often in order to keep the leather in good condition.

In any case, I’m really happy to have found back my favourite bag!

To Be Refashioned…

Before1Is this the most flattering dress ever or what? I mean, the shoulder pads, the billowy sleeves, the hem length, what’s not to like? 😀

I bought this dress two weeks ago from the sales rack of a local vintage shop because, despite its 80s awfulness, it’s made from a very nice fabric, a drapey red viscose with tiny black polka dots.

Before2There are a few dark spots on the skirt portion (which is why the dress was so cheap I guess), but I think I can either cut around them or cover them up with black ribbon or something.

Stay tuned for the result (hope I didn’t jinx it by showing you the before and not having even begun to cut yet)!

Enregistrer

Grey and Pink

GreyPinkGrey and powder pink is one of my favourite colour combinations. To me it evokes the 1920s, I don’t really know why. It’s no surprise anyway that, when I had to pick two colours for this hat, I chose these two in about a second. Oh, and I have literally just realized that those are also the colours I chose for the layout of my blog!

GreyPinkBackYou can’t really see that in the pictures, but the hat is made of two superposed layers of sinamay. The outside layer is grey, and the inside one is pink, so with the transparency of the material, the two colours kind of blend together from certain angles.

The bow and other decorations were made with bias strips from the pink sinamay that was used inside the hat, then invisibly sewn to the hat.GreyPinkSideThe form of the brim is kind of strange: it’s asymmetric (the left side is deeper than the right side), but not so much that you notice it right away. It’s obvious when you see the block I used, but not so much when you look at the hat itself.

The hat was made in two pieces (one for the brim and one for the crown) which were then sewn together. I added a pink sinamay bias strip to cover the junction and another one to cover the raw edge of the brim, and a bow because it seems I can’t make a hat without adding a bow of some sort. Inside the hat I sewed a grey petersham ribbon.

Ok, so now I have a grey and pink hat, a grey and pink blog… It’s about time I begin to think about sewing/knitting myself a few grey and pink clothes!