Au revoir!

This is probably the last post here, at least for a while, maybe forever!

I’ve lost the desire to blog for a few months now and I’m not sure when or whether it’s going to come back. I wanted to wrap things up properly; what better occasion than a last year in review?

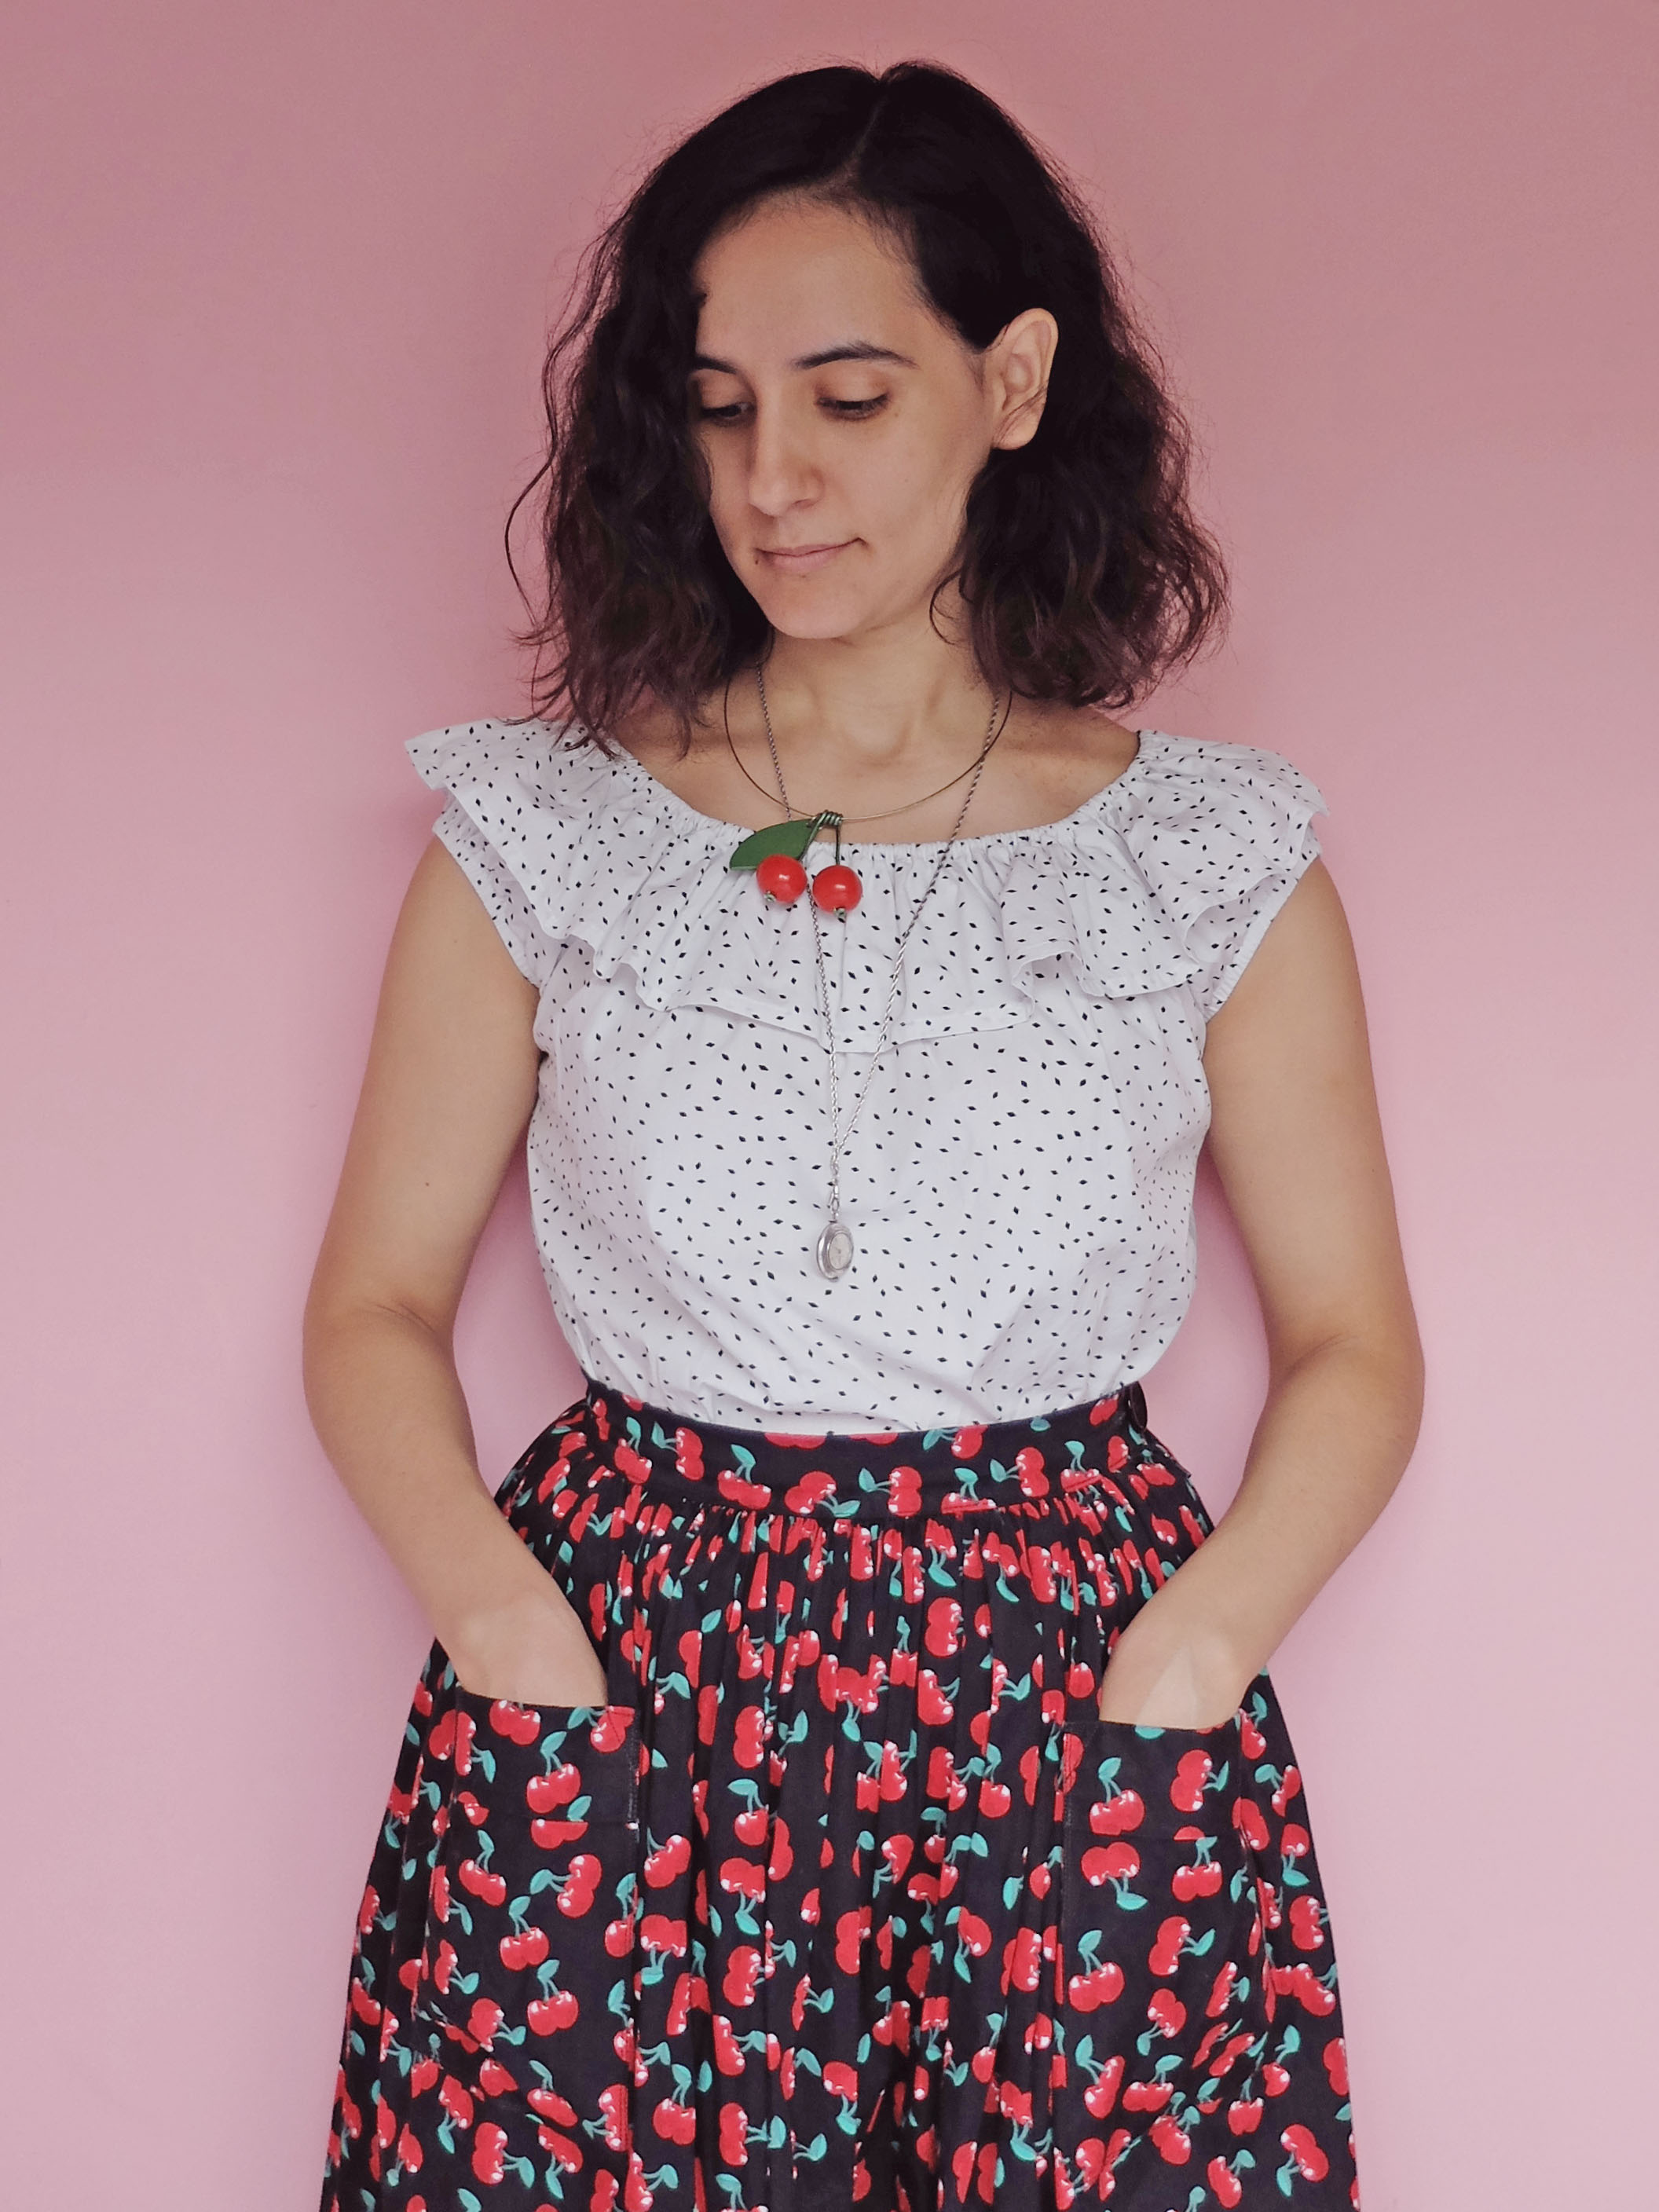
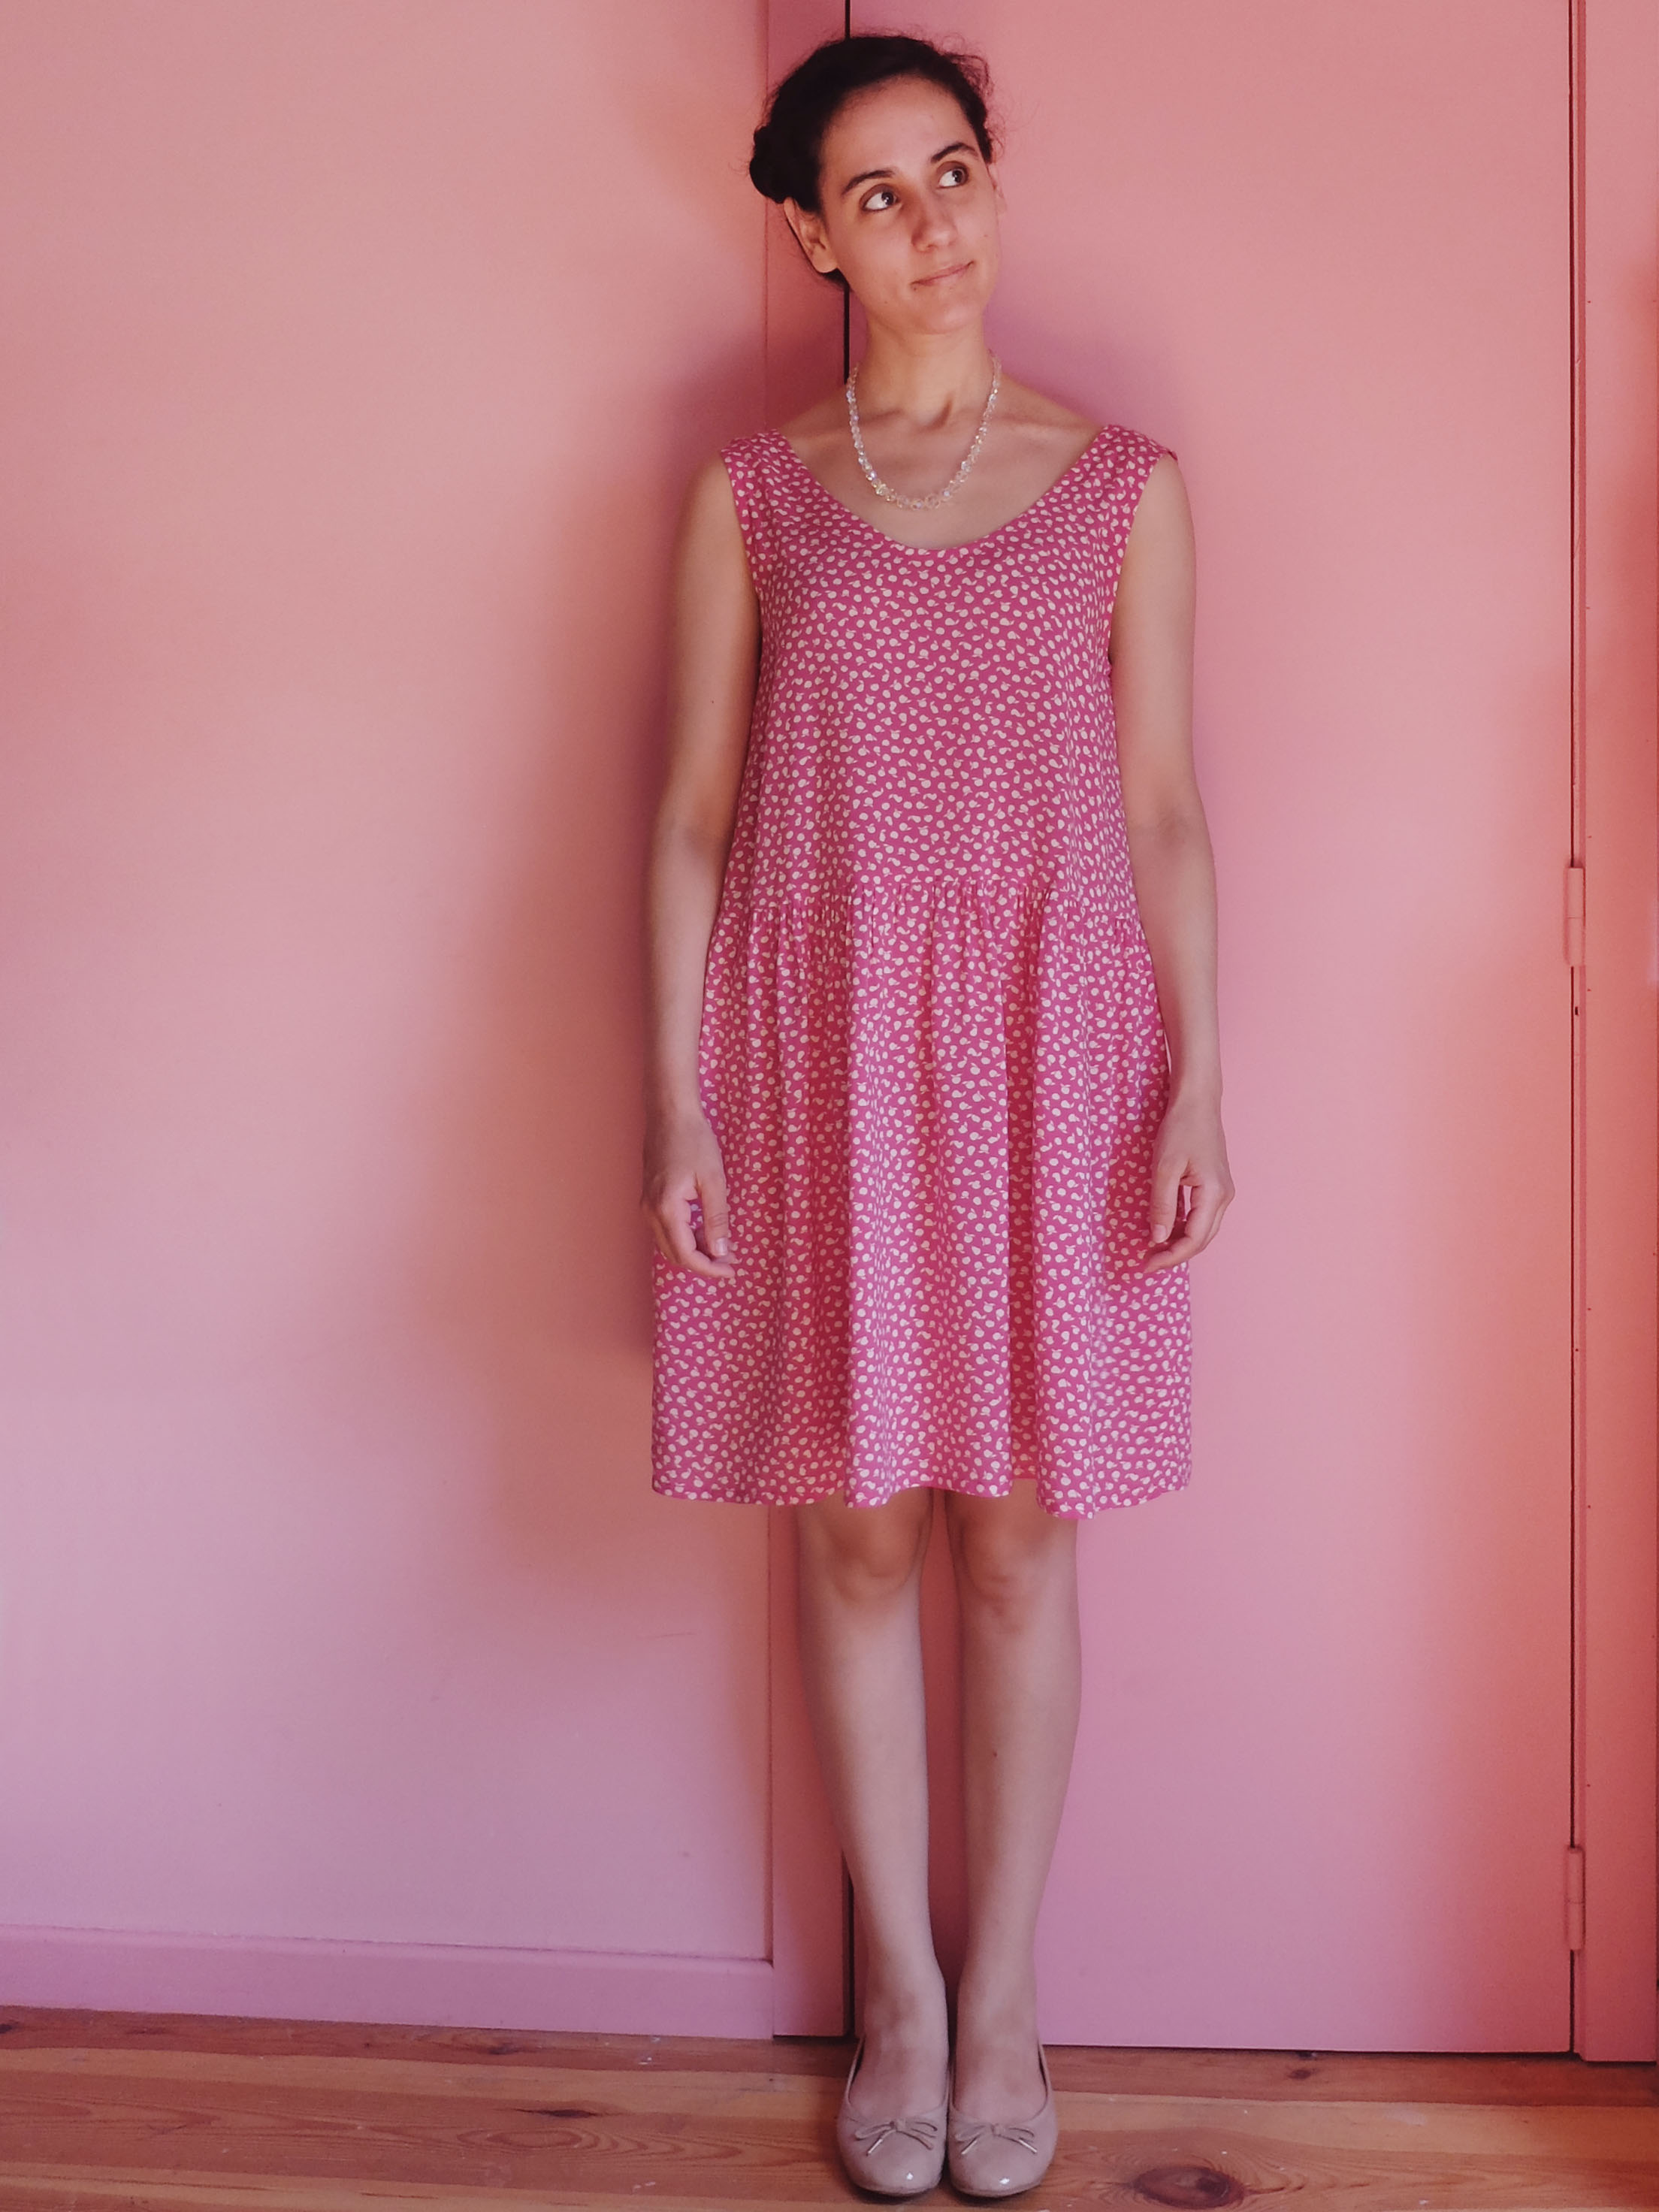
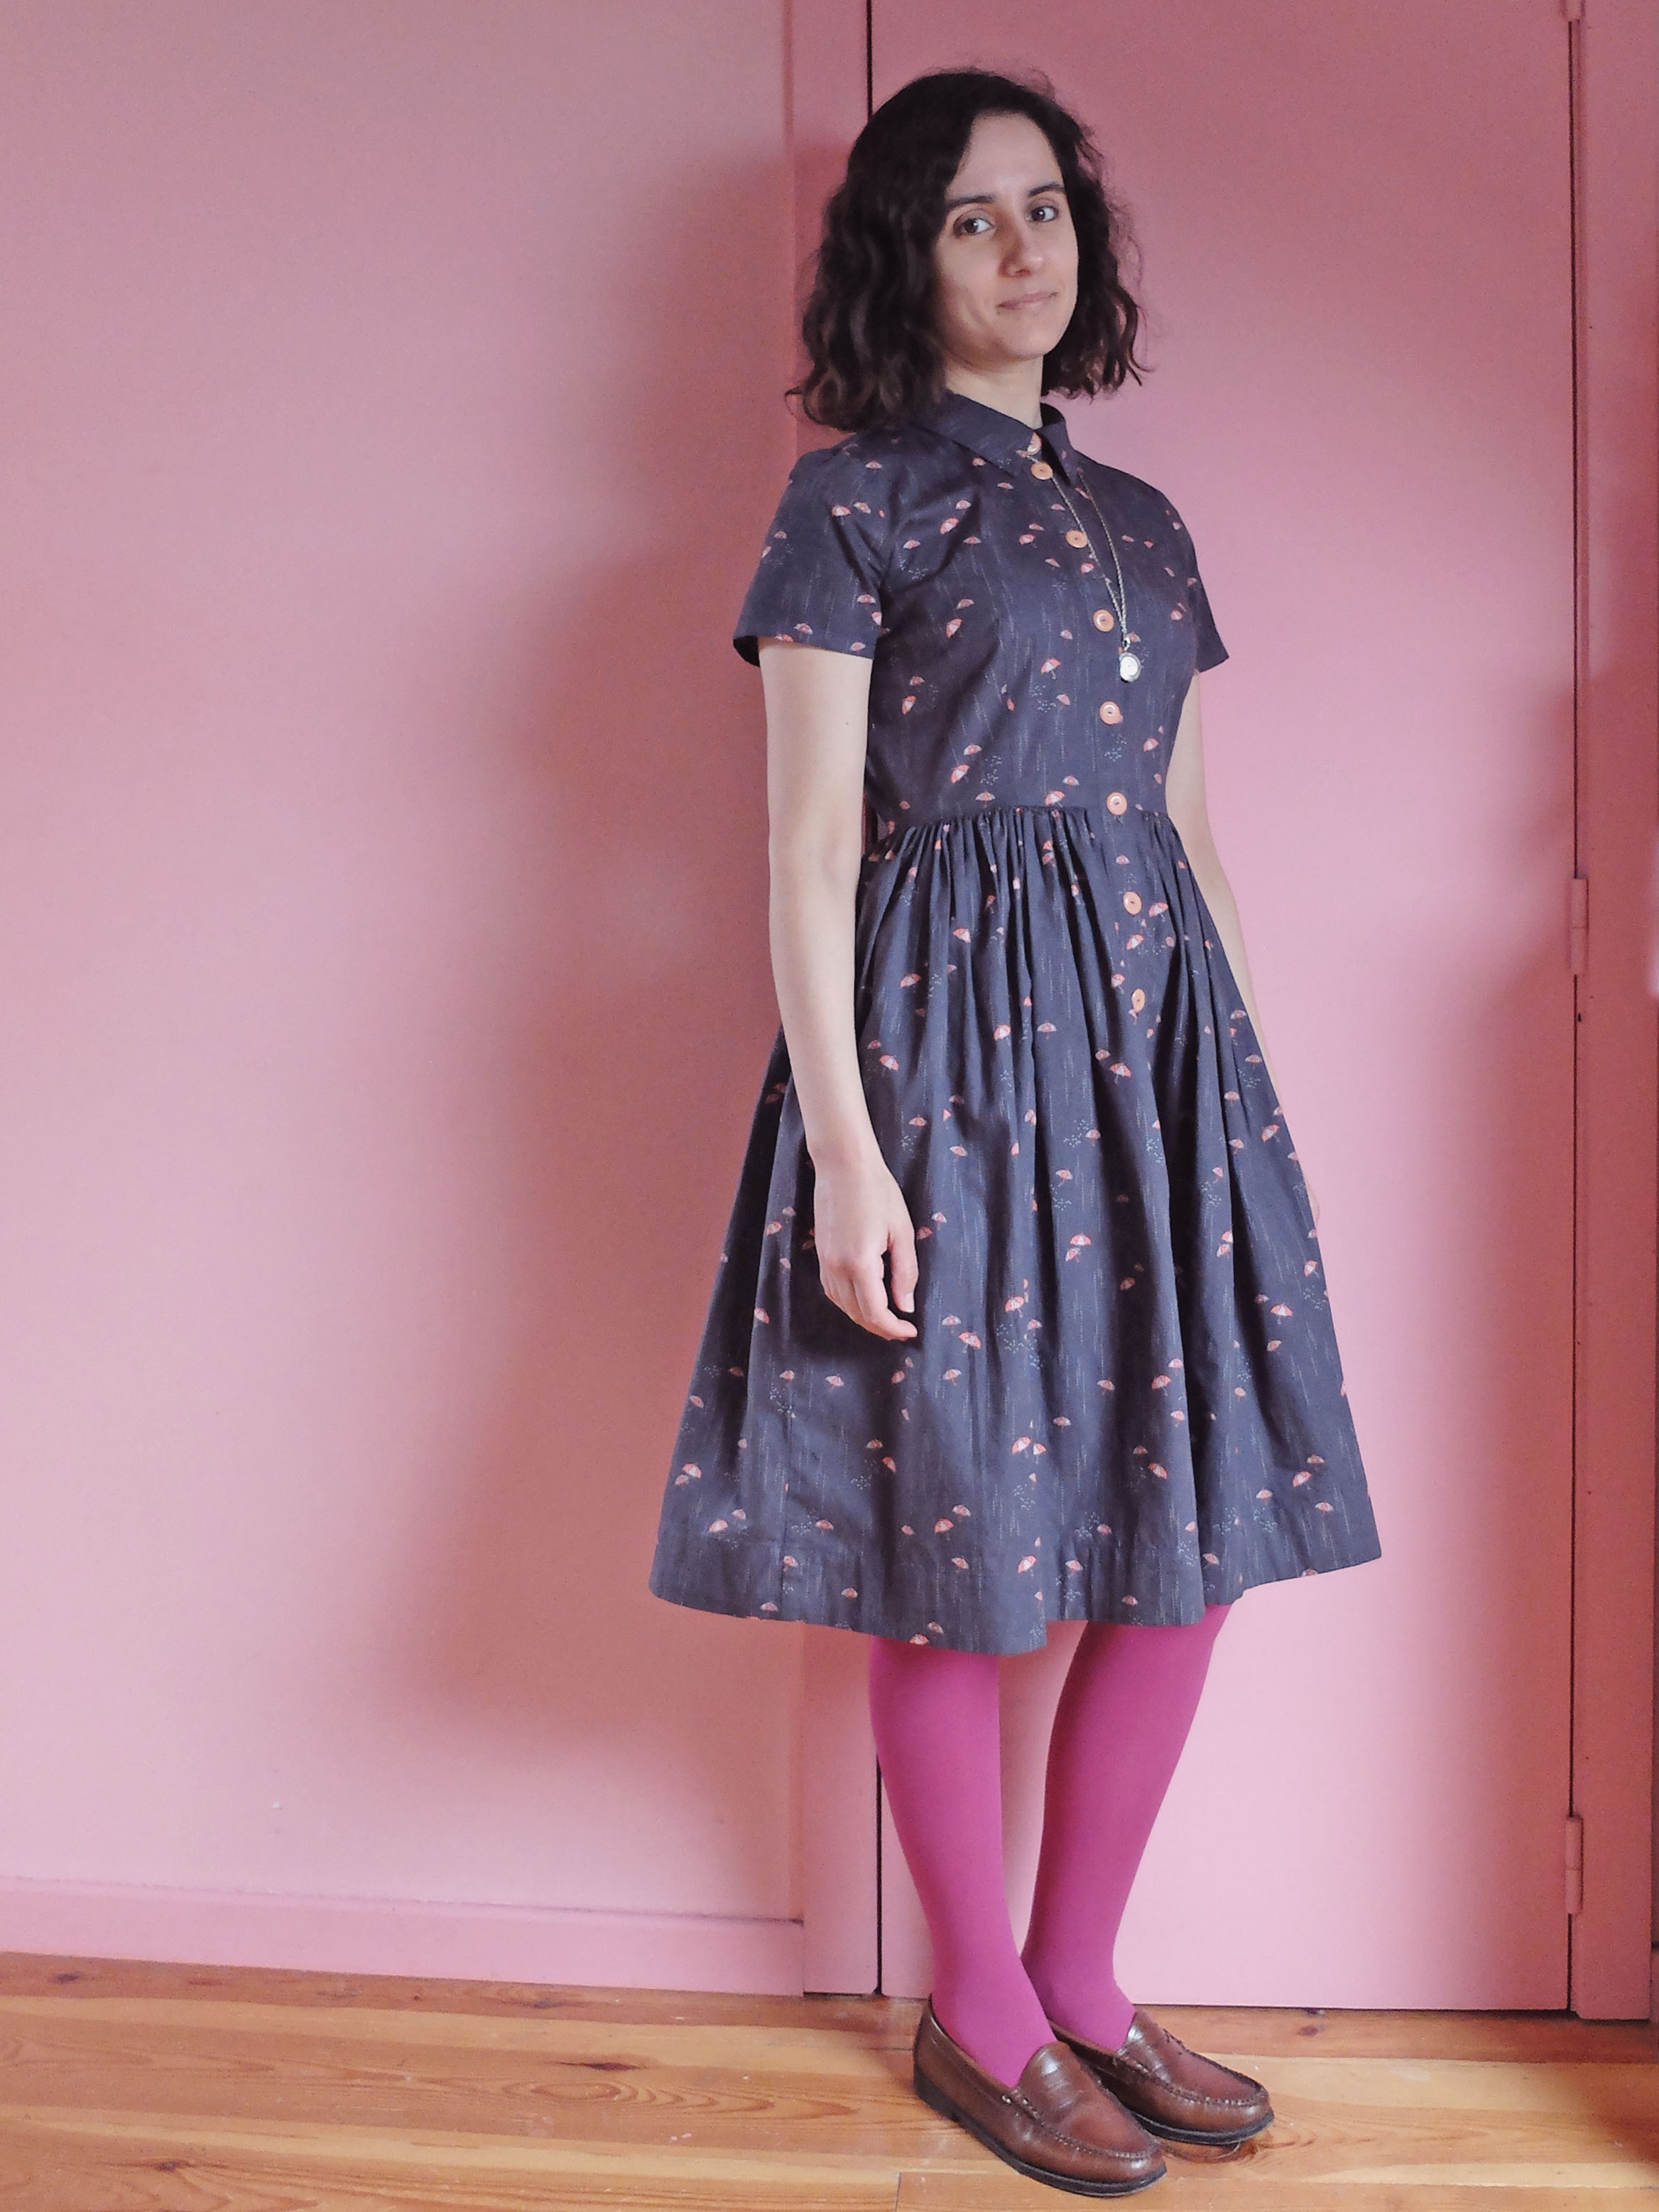
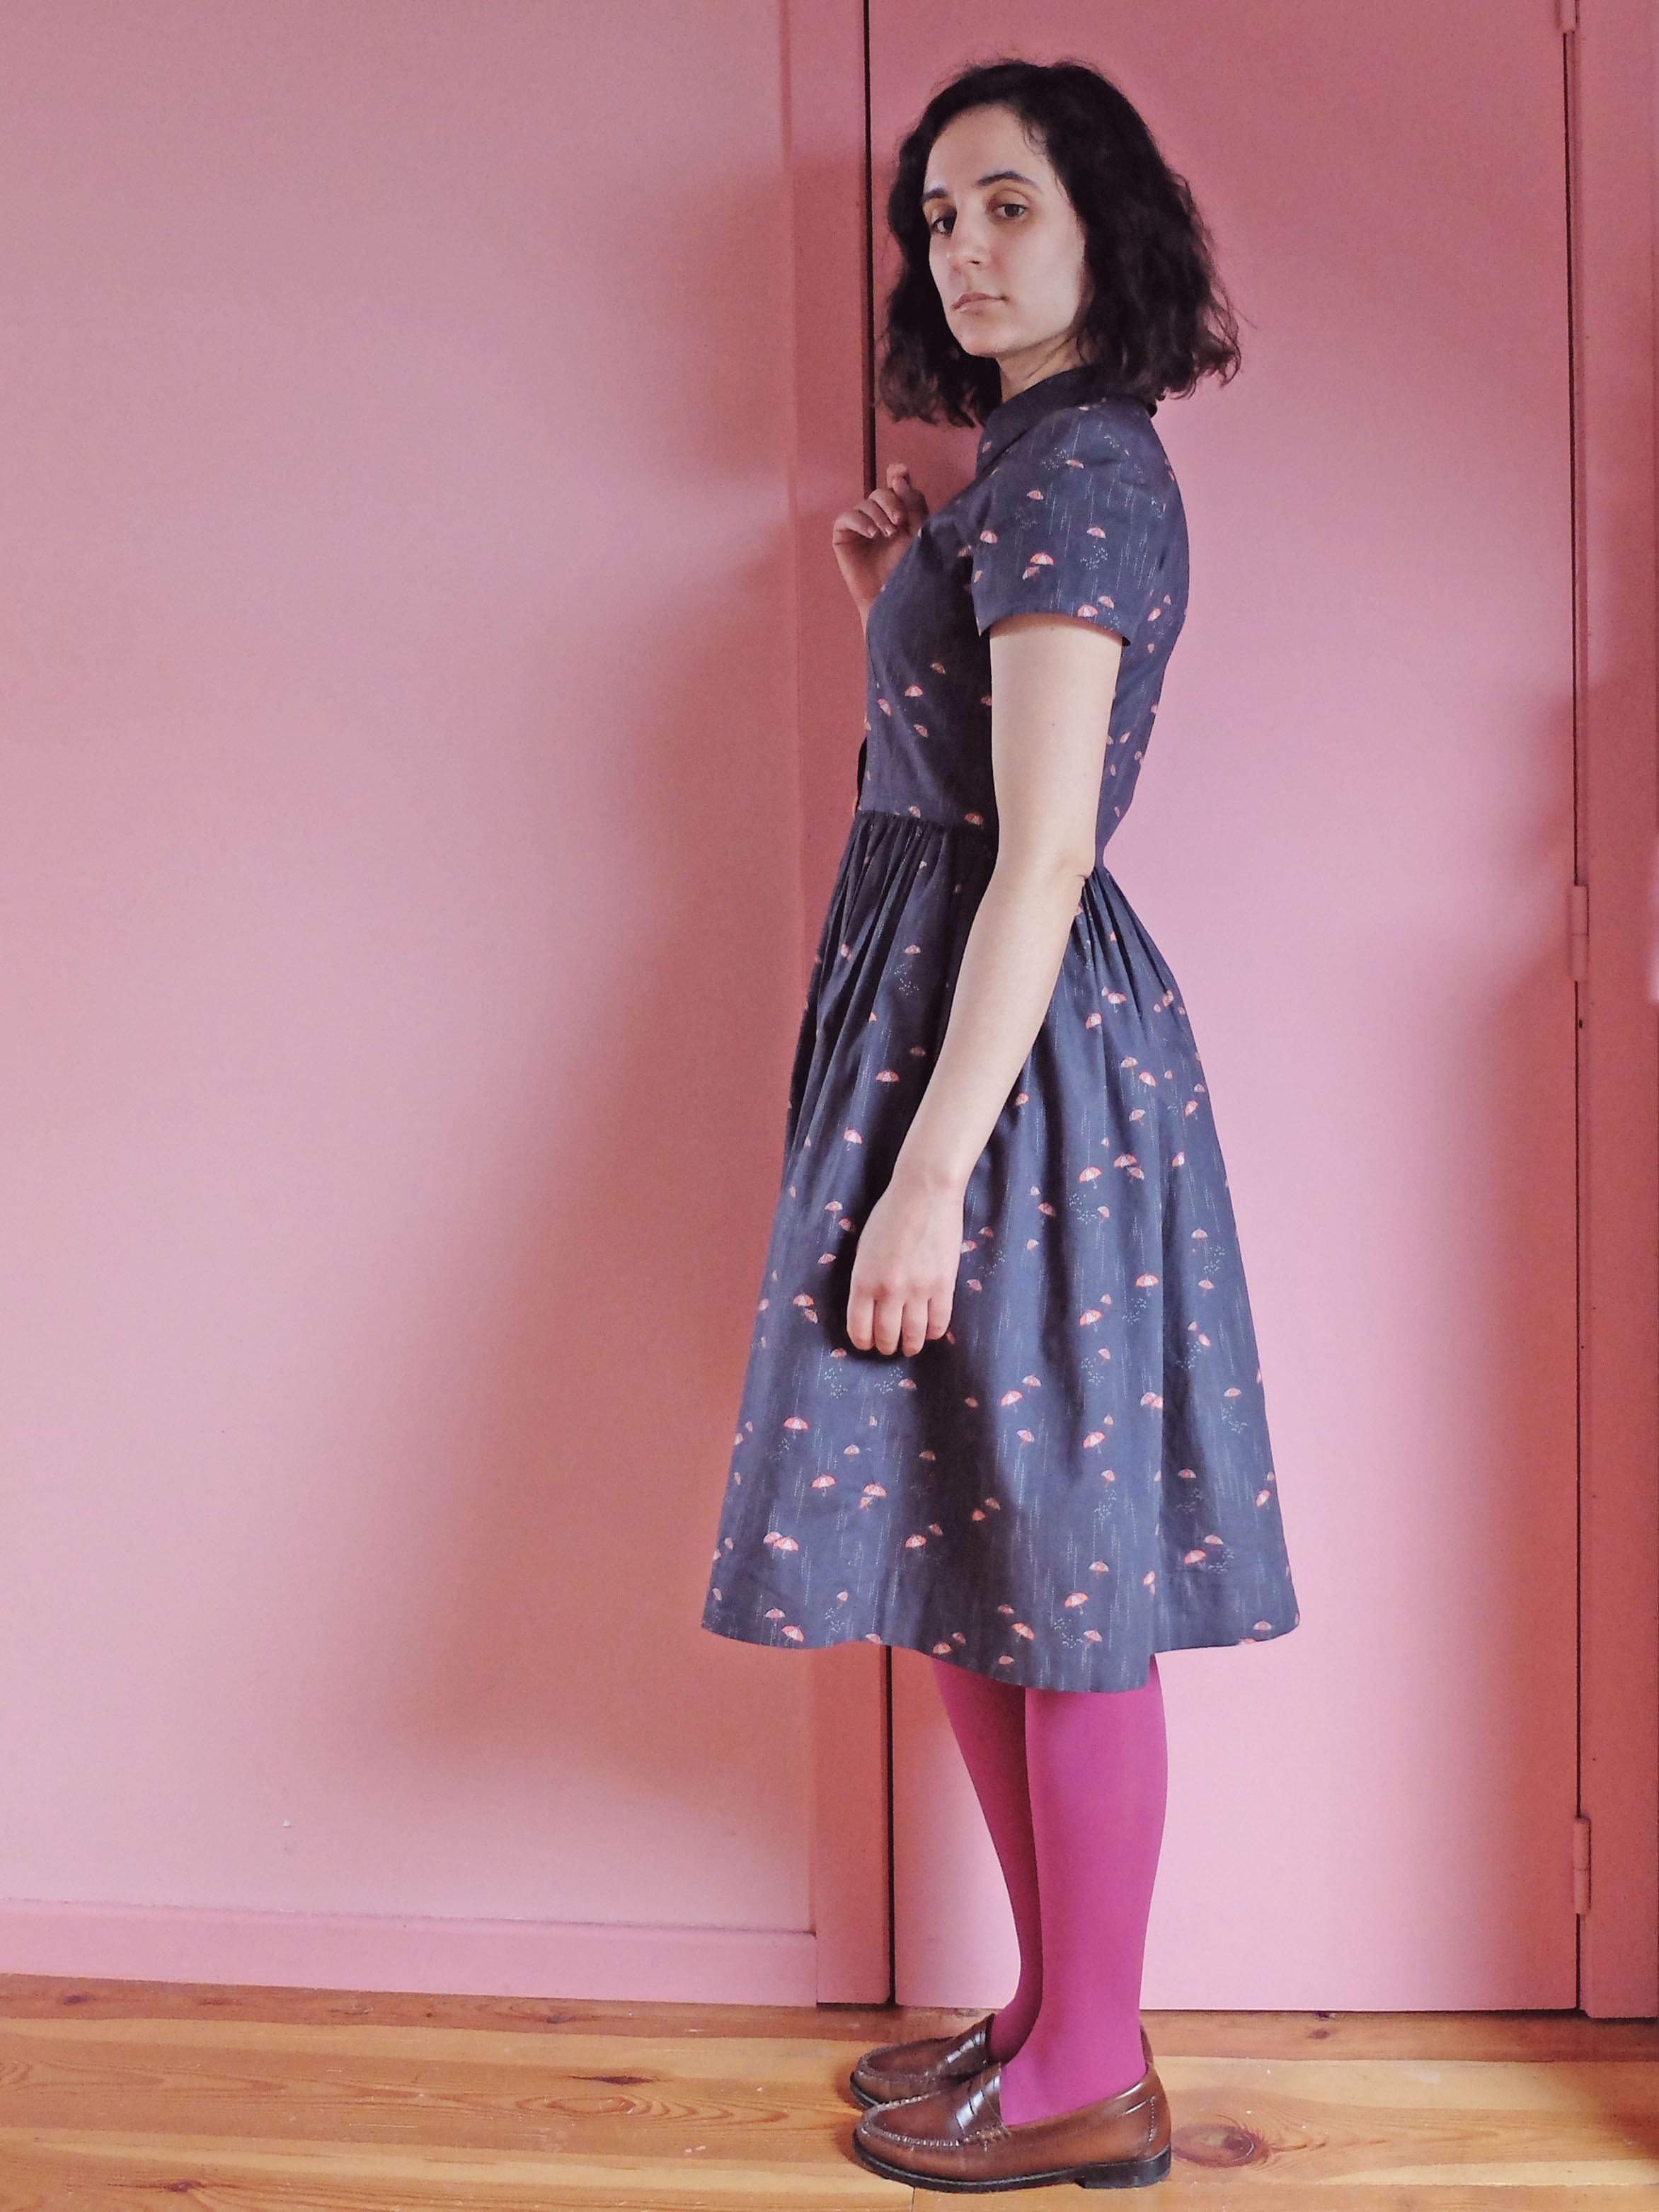
Once again, thanks to Instagram (where you’ll still be able to see what I’m up to, in case you ever miss me 😉 ), I’ve photographed everything I’ve made this year:

And once again, I’ve made more things than I would have thought: 32, which is not bad at all since I’ve really just sewn and knitted when I’ve felt like it!

Out of these 32 things, 5 are knitted, 1 is a little DIY necklace and the rest is sewn (half wovens, half knits).

Like last year (and the year before that, and the year before that, and…), most of my production consists of dresses, tops and cardigans. One thing that’s a first is that I finally made a swimsuit! I had cut another pattern out of the same fabric years ago, but had fell out of love with it, so I cut this new pattern out of the remnants and some of the pieces of the first swimsuit project, and goodbye UFO! This swimsuit is my favourite thing I’ve made this year!

As for the brands I’ve used, as usual it’s a little bit of everything, this year with a little bit more vintage: true vintage, vintage reproductions, vintage styles…

The biggest highlight for me outside of sewing/knitting in 2018 is without a doubt that I’ve just bought a house! It had been a completely unattainable dream of mine for years that suddenly became attainable thanks to a chain of events, and I couldn’t be more thankful for it. The house needs quite a bit of restoration work before Monsieur, the cats and I can move in, so in 2019 I’ll trade in my sewing tools for power tools!

Thank you so much to everyone who has been reading this blog, it’s been five fun years thanks to you! And bonne année 2019!

Froufrou

Peasant blouses are all I want to wear in (not too hot) summer, usually paired with a gathered skirt and either clogs or ballet flats. My favourite peasant blouse was a 1970s vintage one I had bought when I was a teenager, which I’ve been trying to find a replacement for since it got ruined in the wash (pro tip: don’t put a white blouse and a goose poop green cardigan in the same laundry cycle – I WAS TIRED OKAY?!).

On the hunt for peasant blouse patterns, I discovered Butterick 4685 through Constance’s lovely versions. I immediately fell in love with the ruffle version, which is the one I chose to sew.

I made this blouse a year ago, so I don’t really remember any details, only that it was quite easy to make and that I used bias tape inside the curved hem instead of turning the hem over as advised in the pattern. About that curved hem, I don’t think I’d include it were I to sew this pattern again. I only wear this kind of loose-fitting peasant blouse tucked into a skirt anyway (to the point that I didn’t even think to take some untucked pictures, sorry!), so straightening the hem would make more sense.

One of the reasons why I wouldn’t wear this blouse untucked (other than the fact that I actually prefer tucking my blouses into skirts) is the way it looks from the side: you’ll have to take my word for it since I forgot to take a picture , but it makes me look like I’m pregnant (that’s a classic and I don’t really mind) front AND back (less of a classic and I do mind!). That wouldn’t stop me from sewing this pattern again, though, since it looks perfectly cute once tucked in!

The fabric I used came from the Stoffenspektakel, as did the fabric of the skirt I’m wearing in the pictures! It’s a gathered skirt I sewed almost two years ago, but haven’t blogged because it is so simple there was no point in a whole blog post of its own. At least now I’ll have a record of it on the blog!

I added patch pockets with a folded top edge (you can click on the picture above to see them better) to my usual gathered skirt base. If the fabric of this skirt looks familiar, it’s because it’s the exact same print as these two jersey pieces, only in a cotton poplin this time!

Man have I worn this skirt these past two years! I’ve been wearing it with or without tights, summer and winter, and the fabric has held up beautifully. But wait, does this mean I haven’t sewn a gathered skirt in almost two years?! Must. Remedy. ASAP!

Cherries and Polka Dots

Ah, cherries! I don’t think I’ll ever get sick of them. I really can’t resist a good cherry print for summer. And if you throw some polka dots in the mix…

I bought this fabric at the Stoffenspektakel. There was only a 2 metre piece left, and I hemmed and hawed for a couple years before deciding on a pattern for it. But after making my flamingo dress, also from a small yardage, I immediately knew I had to use the same pattern for this cherry fabric, Woman W88 (a vintage pattern I bought on Etsy).

The pattern actually uses quite a lot of fabric, but I’ve only been using the bodice and strap pieces, substituting a gathered skirt the width of my fabric (x2) for the voluminous skirt of the pattern. I’m definitely planning on using the skirt of the pattern in the future, but this substitution has proven very useful when dealing with smaller yardages.

I did not make a lot of changes compared to my first version, only tiny modifications. First, I finished the neckline with a narrower bias tape. I’m not sure this was such a good idea. It looks good, yes, and I was able to topstitch it in place instead of slip stitching it, but it also means that I had to cut the hidden ends of the straps way shorter (thus more prone to fraying) than on my first version.

I also didn’t add the cute little strap bows this time. I felt one dress with these bows was enough, and I didn’t want it to be too obvious that I had two dresses that were exactly the same but for the fabric. For the same reason, I changed the shape of the pockets, too, from rounded to square.

One small fit problem I hadn’t noticed on my first version is that the waistline is maybe a touch too low. Another small fit problem I hadn’t noticed on my first version, probably because it was hidden by the bows, is that the two front neckline darts do not sit perfectly flush to my body. It’s barely visible (even less in the pictures), but a possible improvement to keep in mind for a future version.

Because there will be future versions of course. It’s the kind of pattern I can see myself sewing over and over again, changing only the fabric and small details.

All That Glitters

I hate linen. I hate how it wrinkles of course, but I also don’t really like how it feels against the skin and how the weave often sort of reminds me of burlap. But when I spotted this shiny piece of ⭐️GOLD⭐️ linen at Tissus Passion, like the magpie that I am, I forgot any bad feeling I had ever had about linen and brought this beauty home.

I immediately knew I’d make it into a pair of Deer&Doe Goji shorts, even though I’d had other fabrics in mind for those. And I made them right before leaving for Spain last year, when I realised how in dire need I was of shorts. Making them was pretty uneventful: I followed the pattern to the letter and I don’t remember encountering even the tiniest problem.

I cut a size 36 waistband, then traced the legs from a size 36 waist to size 40 hips. My hip measurements put me in the size 42 column, but I thought I could get away with cutting a hip size smaller with such a loose style. And I was right! Oh, and I was afraid it would be difficult to get in and out of the shorts with such a big difference between my waist and hips, but I was wrong!

These shorts have been worn often enough last summer and this summer, but they could have been worn a lot more. Their only problem is… their fabric! It wrinkles SO. MUCH. I know I’m supposed to embrace the wrinkles, that they’re part of the beauty of linen, blah blah blah… I just can’t stand it! I feel like it makes me look so sloppy! This didn’t stop me from wearing these otherwise very cute (I love how they look like a very short skirt from certain angles!) and particularly comfortable shorts on very casual occasions (e.g. knitting afternoons on a stone bench), but I know I would have worn them way more often had I made them out of a cute cotton or viscose. At least now I know for sure. I. hate. linen.

Apples and Pears

So apparently I’ve decided to break my own record for longest time between taking pictures of a garment and blogging said garment. I took these on May 26th, close to three months ago! These three months flew by between a very busy end of school year and a whole month of July in Spain. And when I remembered these pictures after coming back from my holiday, I found them so bad that I didn’t feel like publishing them. Then I realised that they were actually no worse than my usual pictures, so here we are! I even threw in a few holiday pictures at the end for good measure!

I sewed this dress last summer, right before leaving for Spain that year. The pattern is the Lucie dress from République du Chiffon. It’s a very simple pattern; I think I made it in one day, two days tops. The most time-consuming part (still not very time-consuming) was finishing the neckline and armholes with self-made bias tape, from the same fabric as the dress.

While we’re on the subject of fabric, I bought this one from Les Tissus du Chien Vert yeaaars ago. It’s a lovely apple and pear print viscose (as always, you can click the pictures to enlarge them and see the details), which at first glance looks like the same kind of fabric as this one, but is way better quality. My only quibble with it is that it is quite see-through. This, coupled to the quite low back, makes it a holiday only dress: I’d never dare to wear it at work even on the hottest of days!

I made a couple small modifications to the pattern in that I added side-seam pockets and lengthened the skirt pieces (but not the bodice pieces) by 3 cm. I then added some more skirt length by sewing a 0,5 x 1 cm hem instead of the 3 x 3 cm hem of the pattern.

This is by far one of my most comfortable summer dresses. It really feels like I’m not wearing anything (in a good way, not in a “I feel naked” way). It’s so comfortable in fact that I wore it so much in Spain last summer that I didn’t even want to take it with me this year for fear of not giving my other dresses a chance to get worn! Look, it’s the perfect dress:

to eat arroz con leche,

to eat your bodyweight in churros,

And to pretend you’re freakishly strong! I mean, what more could you ask for?

In all seriousness, though, I’m wearing this dress on half our vacation pictures from last year. So this year it stayed in Belgium, and I was very happy to find it when I returned during this August heatwave!

Lady Grey

I took these pictures what feels like ages ago, one month and a half actually, right after finishing the dress. You can even see the crease of the folded fabric in the back picture right below: it was my first time wearing the dress and I hadn’t ironed it out yet. Then life happened and I did not feel like writing a blog post at all for a few weeks. But here I am now, glad to be back and to finally talk to you about that dress!

I had never tried a Named pattern before because they are not usually my style, but as soon as I saw the Lempi dress, the pattern had to be mine. I even already knew which fabric I would use. I also bought the Helmi dress on the same day, and then both patterns waited for a few months in my pattern stash. I have no idea why I decided to finally sew the Lempi last February, but I did.

I used the exact fabric I had in mind when I bought the pattern, an unidentified grey fabric I had lying in my stash for quite a long time (I’m pretty sure I bought it in the sale department of Les Tissus du Chien Vert). The buttons and Prym eyelets came from Veritas, the belt buckle from this Etsy shop.

The fabric has proved perfect for this pattern: fluid and heavy, it barely wrinkles even after a whole day of sitting yet it pressed beautifully when I was sewing the dress.

The pattern was also very nice to work with. Fit-wise I cut size 40 shoulders and the rest in 36. And I tried a broad back adjustment for the first time. Maybe I should have made a broad shoulder adjustment, too? Design-wise I just omitted the shoulder tabs. I should also have added (and could/should add) a belt loop at centre back to better keep the belt in place and stop the back fabric from pooling right under the belt.

What attracted me to this pattern was its very sober and strict style, which I played up to the caricature with this grey fabric. I knew I liked the finished dress, which I’ve been wearing a bit tongue-in-cheek, yet I’ve been pleasantly surprised by the number of compliments I’ve had about it! Oh and some people almost couldn’t believe I had made it myself, which is always nice. Apparently it looks very designer!

Cherbourg Dress

This dress started with the fabric. I bought it at Atelier Moondust during the sales and I immediately knew it would become a shirtdress. Unusually, I also immediately sewed the shirtdress in question. Not all fabrics can boast such a short stay in my stash!

I chose the Camí dress because it’s the most basic (in a good way!) shirtdress pattern I own. I knew I’d have to make some fitting adjustments though: my first Camí fits awfully at the neck and shoulders. Since I wasn’t really sure about how to fix that, I thought of comparing the pattern pieces to the one other pattern I’ve sewn that has a collar with a stand, the Cardamome dress. And then I thought, why not simply blend the collar and shoulders of the Cardamome pattern with the rest of the Camí? So that’s what I did. It was not the easiest to do because of the yoke of the Cardamome, but it did work: this version fits way better than the first one. It’s still not perfect, but it’s getting there. I might try a broad shoulder and/or back adjustment in the future, and maybe something for my sloping shoulders. And shortening the back bodice, too.

As you can tell from the pictures, I didn’t only make fitting adjustments; I also modified the opening: no more side zipper, but a full button band instead of the partial one of the original. It takes more time to put on or take off the dress, but I’m yet to get dressed or undressed in such a hurry that this poses a problem, and it’s also more comfortable to put on. And I love the look of the full button band so much!

Oooh, speaking of the buttons, aren’t they lovely? They are vintage and I got them at the last Lille Braderie. I was so happy to find such a perfect use for them!

Another change I made, which you can’t see in the pictures, is one I had also made on my first version, raising the too low pockets.

The only real problem of this dress is… the fabric! It’s the cutest with its adorable umbrellas and raindrops and everything, but man does it wrinkle, which makes it look a bit sloppy at the end of a day’s wear… Ah well, it won’t stop me from enjoying those little umbrellas!

Olive Cardigan

This cardigan is almost one year old. I finished it right before last spring, which, for such an autumn coloured sweater, was maybe not the greatest idea. I was just starting to crave pastel and other spring hues, so it felt like I wouldn’t want to wear that cardigan a lot.

But strangely I did wear it a lot, and I didn’t even wait for September for that. I say strangely, but I guess the ever fall-like Belgian weather must have helped quite a lot.

I had bought the yarn (Drops Karisma, colour #57 olive) for this sweater in 2014, at my beloved local yarn shop, which has since closed. I had another much longer sweater in mind at the time, but when I decided to knit the Wainthropp cardigan, I didn’t want to buy any yarn unless I didn’t have anything suiting it in my stash. So I said goodbye to the long sweater and opted for the safest bet, yet another Andi Satterlund sweater, my eleventh if I’m not mistaken! 😀

I modified the button and neck bands: I didn’t like the garter stitch ones of the pattern, so I changed them for twisted ribs, matching the waistband and sleeve cuffs. As usual, I wrote down the details on Ravelry. The buttons are from my stash, once again salvaged from an old garment by my mother.

What more can I write about this cardigan from a designer I’m used to, knit in a yarn I’m used to? No much I guess, except that I’ve recently realised that, weirdly, I have a tendency to knit cardigans in fairly dull colours. It’s particularly obvious when you see them all together. My only bright cardigan was this one, but I’ve just got rid of it because it was too worn and damaged. It’s strange because I think of myself as someone who loves colour and is not afraid to wear bright colours even in winter, yet my sweater shelf says otherwise. Something to keep in mind the next time I buy some yarn!

Joanna Dress

When I first saw the Lliria dress pattern, it was love at first sight. It has everything I like in a dress: the overall silhouette, the sleeves, the yoke, the gathers, I could go on… And when my friend Hibbis almost magically dug out not one but two 1,50 metre pieces of this lovely black and white floral viscose from a messy stand during our last visit to the Stoffenspektakel, I immediately saw it as the perfect fabric for my Lliria.

And it was. But man was it a pain to sew! I had already sewn with viscose, but never with such a shifty one, and paired with the curves of the Lliria dress, it was an absolute nightmare. The waistband in particular got so distorted that its two ends didn’t match at all once sewn up: I had to unpick and re-sew it, which was not fun at all, but I think worth it in the end. I also had to unpick and re-sew the hem a couple of times… and once more after my bike chewed up a piece of it during its first outing! 😱

The flat button is inside the waistband.

The buttons are vintage. They are the same I used on this blouse. And by “the same”, I mean five of them were stolen from said blouse. They were too perfect for this dress, and not that comfortable on the back of a blouse.

I’m really happy with the fit of the finished dress. I had to blend quite a few different sizes to get there: size 42 for the shoulders, 40 for the sleeves, 38 for the sleeve cuffs, 36 for the bust and waist and 42 for the skirt (with a size 48 length at first, but I had to chop off a few centimetres after the bike incident and I think I got back to the original 42 length). It’s kind of all over the place, but that’s what I thought would work after comparing the pattern pieces measurements to the measurements of well-fitting garments, and it did: it’s incredibly comfortable and I feel like a million bucks in it!

I also made a couple very small modifications to the pattern: I added side seam pockets and I interfaced both facings and sleeve cuffs. The only one of these changes I wouldn’t replicate on a future version is interfacing the skirt facings since it takes away some of the fluidity of the skirt. The rest I’m happy with.

Surprisingly, I’d say this is probably the most difficult pattern I’ve ever sewn, because of the type of fabric it requires coupled with the curved shape of some of the pieces, which made it impossible for me not to distort them despite all my precautions. But I’m sure it would have been much easier had I not used that particularly fickle fabric, or had I maybe thought to stabilise it with starch or something…

And the result is so worth it!

Aux robes pareilles

I don’t know that my second version of such a simple pattern as the Moneta deserves a blog post of its own, but I really love this dress and I was wearing it when I thought about taking pictures for the blog, so here goes.

You may remember that I had to shorten the bodice of my first Moneta dress after completing it. Fortunately, I had the presence of mind to alter the bodice pattern pieces, too. And, contrary to what I was forced to do on the first dress (since it was already cut and sewn), I didn’t simply cut off the bottom of the bodice pieces. I shortened them properly by slashing and closing, and I feel like this allows for a better fit at the waist than on the first version: the waist seam is now horizontal, even at the back, so no need for a swayback adjustment after all.

What may also have contributed to this more horizontal waist seam is the fact that I used my preferred method of gathering the skirt (the same as for a woven garment, with three basting rows, but adding clear elastic when attaching the skirt to the garment) instead of the recommended one.

If I did alter the bodice pattern pieces, I didn’t think of altering the skirt pattern pieces at the time. And I realised that right after having cut both skirt pieces, argh! I remember thinking that the length of the first dress was okay, but not perfect, and that on the next version I’d definitely add some length to the skirt to compensate for the length I had lost at the bodice. I could have kicked myself when I realised I had forgotten to do so! I made a very narrow hem to get as much length as I could out of my already cut skirt pieces, and I think that the length I got is more than okay, but I must remember to add a couple more centimetres to the next version in order to get to my perfect skirt length (63 centimetres — this one is 60 or 61).

Those 2-3 missing centimetres sure haven’t stopped that dress from becoming one of my favourite ones! Aren’t those cherries the cutest? I had made this beloved skirt a bit more than a year ago in a lovely cotton poplin, and when I found the exact same print but on jersey (at Herbert Textiel), I didn’t think twice and immediately ordered 2 metres for a Moneta dress.

It’s a white fabric with a dark print, so it does show a tiny bit of white at some seams (see the sleeve seam in the close-up picture below — note that you can always click on the images to make them bigger), but it’s nothing you notice unless you’re specifically looking for it.

What’s crazy is that, out of the two metres I had ordered, I managed to get this dress of course, but also a matching cardigan! I cut and sewed them both at the same time, which was really fun and gave me the impression of being incredibly productive! In case you’re wondering, no, I don’t intend to wear them together, nor to wear the cardigan with the matching poplin skirt!

But when does one enter crazy cherry lady territory? I mean, people (okay, students 😉 ) have already started asking questions, and they haven’t even seen the cardigan yet, nor the three other cherry fabrics I still have in my stash!