Froufrou

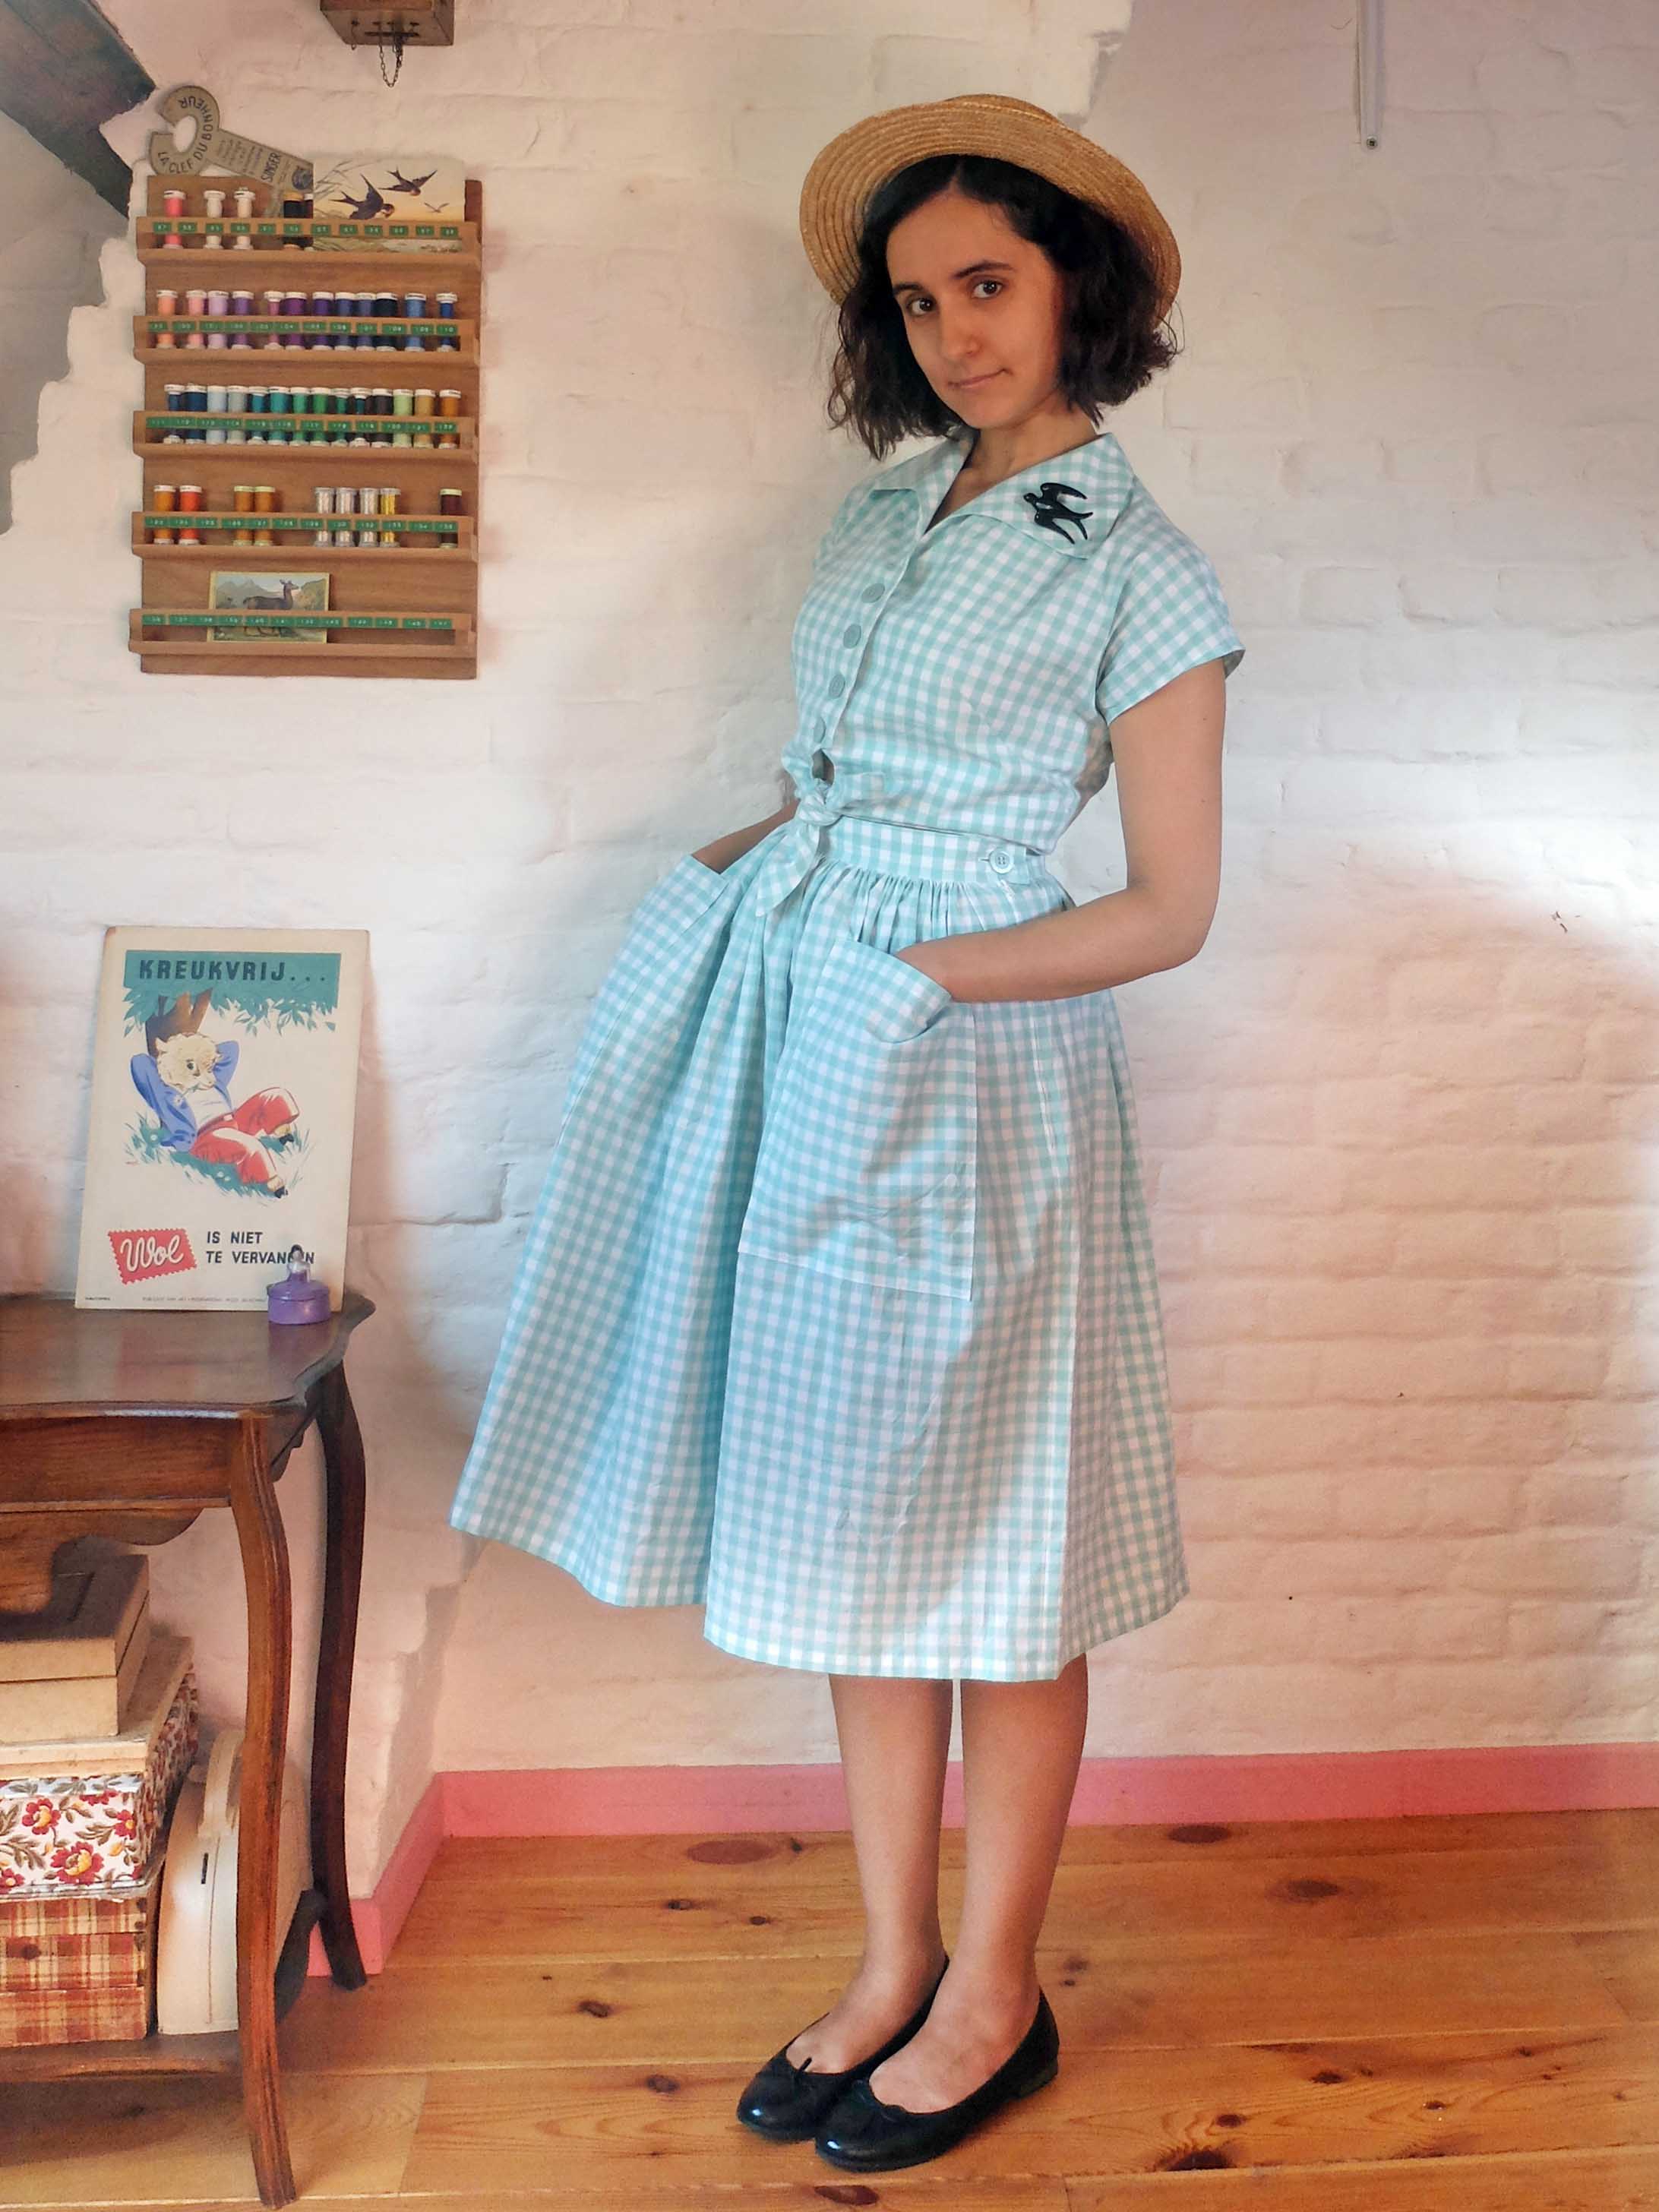
Peasant blouses are all I want to wear in (not too hot) summer, usually paired with a gathered skirt and either clogs or ballet flats. My favourite peasant blouse was a 1970s vintage one I had bought when I was a teenager, which I’ve been trying to find a replacement for since it got ruined in the wash (pro tip: don’t put a white blouse and a goose poop green cardigan in the same laundry cycle – I WAS TIRED OKAY?!).

On the hunt for peasant blouse patterns, I discovered Butterick 4685 through Constance’s lovely versions. I immediately fell in love with the ruffle version, which is the one I chose to sew.

I made this blouse a year ago, so I don’t really remember any details, only that it was quite easy to make and that I used bias tape inside the curved hem instead of turning the hem over as advised in the pattern. About that curved hem, I don’t think I’d include it were I to sew this pattern again. I only wear this kind of loose-fitting peasant blouse tucked into a skirt anyway (to the point that I didn’t even think to take some untucked pictures, sorry!), so straightening the hem would make more sense.

One of the reasons why I wouldn’t wear this blouse untucked (other than the fact that I actually prefer tucking my blouses into skirts) is the way it looks from the side: you’ll have to take my word for it since I forgot to take a picture , but it makes me look like I’m pregnant (that’s a classic and I don’t really mind) front AND back (less of a classic and I do mind!). That wouldn’t stop me from sewing this pattern again, though, since it looks perfectly cute once tucked in!

The fabric I used came from the Stoffenspektakel, as did the fabric of the skirt I’m wearing in the pictures! It’s a gathered skirt I sewed almost two years ago, but haven’t blogged because it is so simple there was no point in a whole blog post of its own. At least now I’ll have a record of it on the blog!

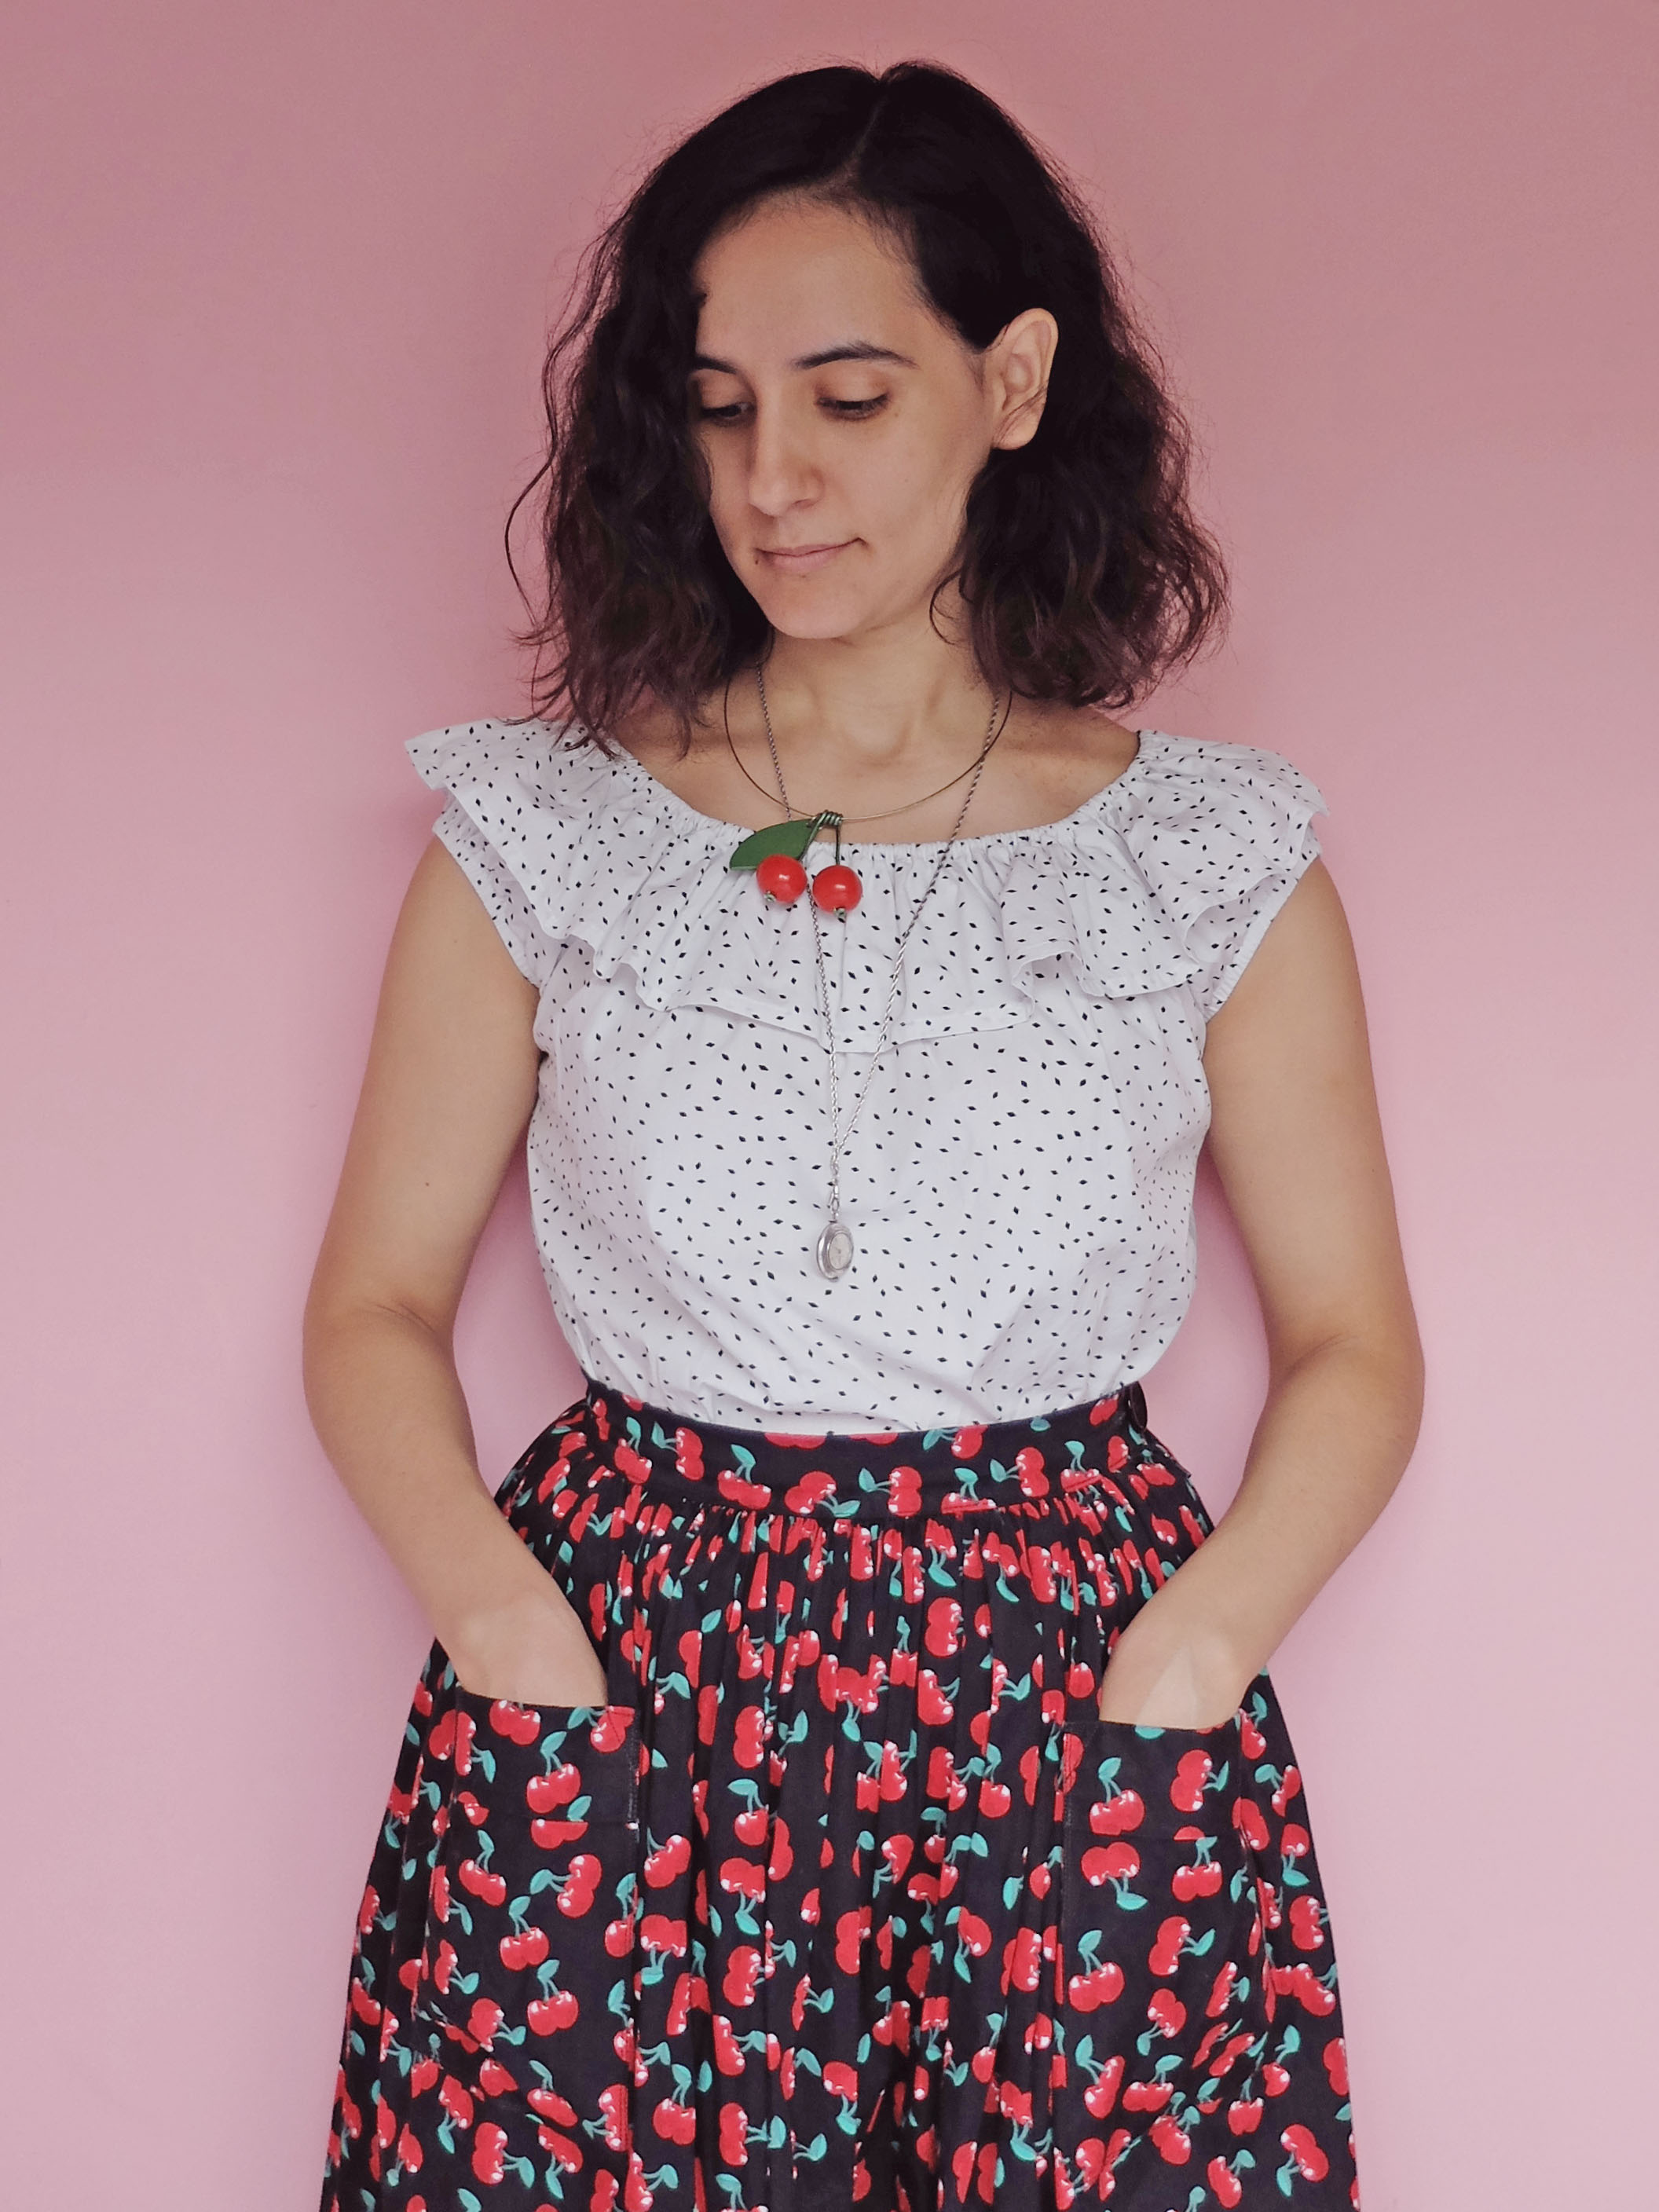
I added patch pockets with a folded top edge (you can click on the picture above to see them better) to my usual gathered skirt base. If the fabric of this skirt looks familiar, it’s because it’s the exact same print as these two jersey pieces, only in a cotton poplin this time!

Man have I worn this skirt these past two years! I’ve been wearing it with or without tights, summer and winter, and the fabric has held up beautifully. But wait, does this mean I haven’t sewn a gathered skirt in almost two years?! Must. Remedy. ASAP!

Pastel

pastel1Yes, another gathered skirt with giant pockets; yes, two new Ondée sweaters! I know, I know

What can I write that I haven’t written before, especially since the fabric I used for the Ondées is the same as for my first version, only in different colourways, and the fabric of the skirt is the same as for last week’s culottes, only with vertical stripes instead of flowers? I also used the remnants of the culottes for the pockets and the covered button, so really, nothing new under the sun. I even bought the fabrics in the same place.

pastel5Oh, but wait, I did use a new pattern for the pockets of the skirt! Burda 06/2015 #103a is a gathered skirt, so they only provide you with measurements, no pattern pieces, except for the pockets. I used my usual gathered skirt measurements instead of the pattern measurements, but I did use the pocket piece! I love those pockets: I can literally fit a cat in each one! Now if only my cats would cooperate.

pastel3I have been more into skirts that fall below the knee lately and I would have liked this skirt to do so, but I didn’t have enough fabric left after straightening the grain (I lost about twenty centimetres, grrrrr!), so this length had to do. Judging from the crazy amount of times I have worn this skirt in almost four months, I think I might survive the trauma.

pastel4I have realised since making the two Ondées (and two others after that, oops!) that I should have cut at least a 38 at the shoulders instead of a 36 like I did. It’s funny how at first you don’t see something, and then you notice it and it’s all you can see. I am now the proud owner of ten too-narrow-at-the-shoulders Ondées! Now that won’t stop me from going on wearing them. Also, being the positive person that I am, I see that as an opportunity to sew ten more! Silver lining and all that…

pastel2

Enregistrer

Enregistrer

Enregistrer

Enregistrer

Enregistrer

Brigiiiiitte!

VichyMint1When I came upon this mint gingham at the Stoffenspektakel with my partner in crime, I immediately thought of making it into a matching blouse and skirt.

I knew the skirt would be a simple gathered one with giant patch pockets, because you do not change a winning team, but I dithered on the question of the blouse. At first I wanted to make a Mélilot, then thinking I could wear it tied at the waist made me think about Camille’s versions of  this Burda model I had in my stash, and then I remembered Gertie’s pattern, Butterick B5895,  which I also had in my stash (is there a pattern I do not have in my stash, that is the question!), and the deal was done!

VichyMint3I went in search of reviews of the pattern, and a lot of them warned about the surprising amount of ease. I took a look at the finished measurements and chose to cut a size 6 instead of between a size 10 and 12 as the body measurements would have had me cut. Now, the ease wouldn’t have worried me so much was I going to use a drapier fabric, but with this light but stiff gingham I thought it would be wiser to go down a few sizes for fear of getting a much boxier blouse than I intended.

Another thing I read in a lot of reviews was that the blouse was very short. Once again I referred to the finished garment measurements (I also measured the length of the pattern pieces just to be sure) and I decided against modifying the length. But it’s true, the blouse is indeed very short: I suspect I am very high waisted and it falls right at my natural waist.

VichyMint4The pattern only has four pieces, but man do some of them look weird! The only tricky part to sew is the collar, for which you need to be very precise in your cutting, marking and sewing, and I found the instructions perfectly clear.

One thing that worried me was that the grainline does not run parallel to the centre front line, so I had to ignore the grainline on the front pieces for the plaid to be straight on the button bands. Fortunately, this did not cause any problem in the end, phew! The grainline isn’t parallel with the centre back either and I actually like the effect there, but I know it would have bugged me to no end if the gingham didn’t run parallel with the edge of the button bands in the front.

VichyMint5When I first tried on the finished blouse minus the buttons/buttonholes, I realized that going down two sizes and a half meant I should evidently have lowered the darts. So I set out to unpick the side seams and lower the darts by about 3/4’’. I think it was well worth the effort: here’s the before and the after.

After that all I had to do was add the buttons and buttonholes (actually not that easy when you want your centre front plaid to match!), and then make the matching skirt!

VichyMint6I don’t have a lot to say about the skirt, it’s yet another simple gathered skirt. Just like for the blouse, I took a lot of time pattern matching. Instead of pinning, I found it easier/faster (still very time-consuming) to baste the pieces together before sewing them. Once again, worth the extra time.

VichyMint2I like my little matching ensemble, but in fact I’m not sure I’ll ever wear the two pieces together. Separately, yes (already have), together, I don’t know. Perhaps it’s a little too over the top? I really don’t know, we’ll see! And worse comes to worst, I’ll still have a cute blouse and a cute skirt!

Enregistrer

Sailorette

Sailorette1How many Ondées are too many Ondées? This is Ondée #6 (and — spoiler alert! I made #7 on the same day!). This is also far from my first striped top; what can I say? I know what I like!

I’ve sewn a couple more challenging projects lately, and Ondée is still the perfect palate cleanser for when you don’t want to jump directly from one long project to another.

Sailorette7I made my usual size, and this time I used a navy/off-white striped cotton jersey with lycra, once again from the Stoffenspektakel. The neckline, waist and sleeve bands are made from the same off-white cotton ribbing I used for this T-shirt (from De Stoffenkamer). It’s pretty thick, more than the main fabric. This made it a little bit difficult to sew through the bulk at seam junctions, but it does look nice in the end.

Sailorette2The skirt is one of Deer&Doe’s new patterns, the Zéphyr dress. A skirt version, obviously. I’m in-between sizes (36/38 waist) at the moment and I opted for a 36, which is perfectly comfortable, not too tight at all. I didn’t grade to my hip size (close to a 42), hoping the shape of the skirt would provide enough room by itself, and it does. I do have to wiggle a little bit to put on the skirt, but that’s always the case with any garment that relies on stretch and not on any fastenings: if it fits my waist, it won’t easily get past my hips.

Sailorette5The fabric I used is a navy ponte of unknown composition I recently bought at the Stoffenspektakel with this exact skirt in mind. It is perfect for this pattern, just the right weight and thickness.

I pressed the waist seam allowance upwards and topstitched it in place with a three-step zigzag stitch because otherwise it fell towards the skirt and formed a bulge where the side and waist seams meet. I would do the same for any future version, except that I think I would use a plain zigzag stitch. The hem was serged, then turned and stitched with a straight stitch (no real risk of popping the stitches with this wide hem).

Sailorette6Like the Ondée, this skirt allowed me to catch my breath between two more complicated projects. I think this might be the fastest garment I’ve ever sewn! Two pieces to trace, three pieces to cut, that’s it! I don’t often make a skirt without pockets, but I think pockets would have ruined the shape of this one, so I didn’t add any. I’ve already worn it a few times, and the lack of pockets didn’t bother me too much.

Sailorette3I sometimes feel almost guilty when I make such easy projects, thinking I should spend my time sewing things that are much more challenging, but then again I love the resulting garments, so why feel guilty when I should feel proud to be making pieces I’m going to wear on a daily basis? Just because a project is easy, doesn’t mean it’s worthless, does it?

Sailorette4

Déjà Vu

DéjàVu2Here’s the last Ondée I hadn’t photographed yet, with a Hollyburn skirt I made back in May!

That Hollyburn is more of a summer skirt and I wouldn’t wear that outfit in real life since I don’t like such a light-coloured skirt with dark tights, but I don’t hate it either so I took the opportunity to blog those two garments at once, especially since I don’t have anything new to say about the Ondée sweater (same size as usual, same fabric as the blue version).

DéjàVu3I had already sewn a Hollyburn skirt, which was actually the first garment I ever posted on this blog. I love and have been wearing that winter version so much that I wanted another one for the warmer months. I bought the fabric with that exact project in mind at Gotex at least two years ago, but so many projects, you know how it goes…

DéjàVu4It’s always a bit of a disappointment when a project you have been thinking about for so long doesn’t turn out as perfect as in your head, which is the case with this one. I blame the fabric: although it looks like a sort of chambray, it’s in fact a polyester/cotton blend, and, just like the one I had used for my Centaurée, it has taken the worst of each component: while the cotton means it wrinkles easily, its polyester part won’t take a press! This was definitely my last time ever sewing such a material.

DéjàVu5I have been trying to lower my fabric stash (no pledge or anything, just trying to remain conscious of what I already have and stop overbuying like I used to – I have to say it’s been working pretty well!) and I didn’t want to keep the small remnant that was left after cutting the skirt, so I made the belt loop version and I sewed a matching bow belt to go with it. I used Tilly’s tutorial (in her book, but you can find it on her blog, too), and I added two snaps to make sure the ends stayed in place.

DéjàVu6Weirdly, despite my qualms about the fabric, a less than perfect zipper insertion and the fact that that skirt shape in a light colour probably isn’t the most flattering shape on me from behind, I still like the skirt a lot. I made it a little bit longer than my first version, which I have always thought was a tiny bit too short to my taste, and, I completely forgot to take a picture of that, but to finish the hem I used some light blue bias tape with white polka dots. Since it was destined to be a casual summer skirt, I didn’t line it, and I used my serger to finish the seams.

DéjàVu1

The Clue of the Lady In Blue

NancyDrew1Like a lot of people who sew, there are many times when I finish a garment, vow to make another one because I like it so much… and then promptly forget about it.

So when I told you about how much I liked my first Ondée and how I was definitely going to sew other ones, I was conscious that, even though I intended to hold my promise, there was a good chance I’d be swayed by the next shiny new pattern and never keep my word.

NancyDrew3But lo and behold, I did keep my word on this one! And the Ondée sweater is such a fast sew that I actually made two in one afternoon! I’m showing you the first one today, a blue one with white collar, which is also the one I have been wearing non stop since its completion. The main fabric is a cotton/lycra knit from eBay seller Tia Knight. The collar fabric is the same I used on my first Ondée. Looking back at that post, I realise I forgot to mention that I had bought both mint and white jersey knits at the Stoffenspektakel, where you always find loads of high quality cotton/lycra jersey knits in every colour of the rainbow! I also forgot to mention the size I made: a 36, my usual bust/waist size for Deer&Doe patterns.

Like for the first one, I serged the whole top except for the collar (I didn’t feel like changing the serger thread to white just for the collar!), for which I used a zigzag stitch. Once again, I topstitched under the collar with a zigzag stitch.

NancyDrew4The skirt is also a repeat! It’s another version of this skirt I love and wear so much, based on the tutorial in Gertie’s book (also available on her blog). I don’t know how I managed that since I seem to remember I measured the waist of the first version, but the waist is a little bit looser than that of my first one. I intend to insert a small piece of elastic at the back to remedy that, but me and alterations, you know how it goes…

It’s a question of an inch, so the skirt is perfectly wearable as is, but it doesn’t stay in place as well as a skirt with zero ease at the waist.

NancyDrew5Despite that little flaw, I love that skirt so much and have been wearing it accordingly. Did you notice the print? It’s a Nancy Drew print! It’s from a discontinued Moda Fabrics line. As one of Nancy Drew’s biggest fans when I was a kid (while we’re at it, did you know that, in French, her name was “translated” to Alice Roy and she is widely known as Alice détective?), I couldn’t pass up this fabric when I found it three years ago at de Stoffenkamer. I bought it with the intention of making this exact skirt! I cut (more like, tore!) the pockets from the remnants so as not to waste any scrap that could be used. The fabric was narrow enough that I could use the whole width on each skirt panel… including the selvedges!

A note about the fabric: it has that very weird smell (almost, I don’t know… fungusy?) when being ironed. I thought this was maybe due to a storage problem of some sort, but it’s been washed quite a few times already and the smell is still going strong every time it gets ironed, so I’ve come to think it’s probably the dye itself that’s to blame. Luckily, it doesn’t smell at all once it’s cold!

NancyDrew2This outfit is nothing complicated, but I have been wearing it a lot these past few weeks. When the weather was a little bit warmer, I wore it mostly with this cardigan, and these days it’s finally been cold enough to pull this one out the wardrobe. It’s an outfit that I think is both cute and easy to wear. I won’t promise anything, but I’d really like a few duplicate versions!

Doppelgangers

Chardon1The vermilion Chardon skirt I made two years ago is one of those garments I reach for constantly, both in summer and winter. So when I found this vibrant green cotton at Les Tissus du Chien Vert earlier this year, I thought it would make a perfect new glaring Chardon that I knew would get a lot of wear.

Chardon2I made this skirt in early May, so I can already tell you that it did indeed get a lot of wear, as did the t-shirt I’m wearing in the pictures, sewn a few days before. The t-shirt is also my second time using a pattern (and it’s also the same t-shirt I’m wearing in the pictures of the post about my first Chardon!), a two-piece tee (one front piece, one back piece) from this Ottobre magazine.

Chardon6I finished the t-shirt differently from the first time, by substituting a narrow neckline/sleeve band to the neckline/sleeve binding. Other than that, it’s the same as the first one, but serged instead of sewn by machine (except for the top stitching, made with a double needle). It’s also exactly the same kind of slinky rayon knit as the purple one, but two years of experience made it way easier to cut than the first time around.

As for the skirt, I decided to bind all of the seams with bias tape, and I have to say I was pretty proud of the result! I was afraid it was going to be too bulky at the pockets, but it isn’t, so I’ll definitely use this method again in the future.

Chardon3I did screw up somewhere in sewing the pleats, though, which are a little wider (and less deep) than they should be. At first I made them the correct size, but when I tried on the skirt before attaching the zipper, I felt like it was going to be too snug. So I let out each pleat by a few millimetres to gain a couple centimetres. And of course, when I tried on the skirt a second time, this time with the zipper, it was way too big at the waist! I unpicked the zipper, and since I couldn’t be bothered to unpick and redo the pleats for the second time, I simply cut off the excess at the centre back seam and re-inserted the zipper.

Chardon4Despite this silly mistake, I’ve been wearing these two garments a lot, both together and separately. The outfit I’m wearing in the pictures is the exact outfit I had been wearing all day at work, hence the wrinkled skirt.

I’m really happy with the finishing of both garments, especially of the inside of the skirt. It’s so pretty it almost feels like a waste to keep it hidden. It’s such a shame that I can’t wear it inside out… Or could I?

Chardon5

Sunny!

Sunny1Hello, it’s me again! Once more with two garments for the price of one, which makes a total of five garments in a week, gasp!

It’s been so long since I completed this skirt and top that I don’t even remember which came first… The only thing I remember is finishing them a few days apart and realising how perfect they went together.

Sunny2The skirt is my second iteration of Tilly’s Picnic Blanket Skirt. I can’t get enough gathered skirts; with or without buttons, I need them all. You wouldn’t believe how many pieces of fabric I have bought with a simple gathered skirt in mind (I think Mimolette is going to club me to death if she ever hears me answering ever again “Oh I don’t know, I was thinking a simple gathered skirt maybe?” to her asking me what I want to make with a fabric I like!).

Sunny3So when looking for something to sew with the remnants of the skirt I sewed for my friend’s birthday (am I the best friend ever or what, sewing her a skirt only two years after her birthday?!), I didn’t dither and went for, well, a gathered skirt. With buttons, because I had spotted these cute ones at Tissus Passion and I was so happy to have found an excuse to buy them.

Sunny6While we’re on the subject of buttons, I got the impression that, after a couple of months of wearing and subsequent washing, they had started to fade a little bit. I compared them with a spare one to be sure I wasn’t seeing things, and indeed, as you can see in the picture above, they are a shade clearer. Fortunately, the fabric (which I bought in Paris about four years ago) seems to stand up better to repeated washing.

Sunny4I like the skirt a lot, but it’s the knitted top I’m most proud of, because it is my own pattern (details on Ravelry)! I had a clear idea of what I wanted it to look like and I made the pattern up as I went. The only radical difference between the finished top and what I had in mind is that I initially intended for the Swiss dot stitch to run on the whole sweater. But when I reached the part where I knit in the round, I realised this stitch couldn’t really be knit in the round. So I had to make a choice between seaming up the top afterwards, or knitting in the round with another stitch. I thought these garter stitch stripes looked cute with the dots, so I chose to go on knitting in the round with this stitch.

Sunny5The yarn is Catania and I loved knitting with it. I did freak out when steam blocking the sweater though: with the heat, the yarn changed in texture and got very stiff and started feeling sort of brittle. Luckily, the change was only temporary and everything got back to normal as soon as the yarn cooled down.

I have worn this skirt and top a lot since I finished them four months ago, together and separately. The skirt is especially versatile: with its colourful flowers on a black background, it lends itself to being worn with or without tights, both in summer and winter appropriate outfits!

The Five-Month Skirt

JupeGrise1Long time no see, huh? I haven’t stopped sewing and knitting of course, but I needed to put blogging on the back burner for a moment. I hadn’t imagined I wouldn’t come back here for over two months, though… It was really weird (and not in a good way) taking pictures of myself again… By the way, my hair looked smashing in the mirror, but in the pictures it looks like a hot mess, whatever.

JupeGrise2This skirt took two months in the making and still had to wait for close to three more months to get its blog post. I like that this allows me to speak about it more knowingly than if I had blogged it right away. When I had just finished it, I felt like it was going to be easy to wear and to match with the rest of my wardrobe, now I know I was right! I also know that one should never try on a high-waisted skirt so close to the end of the year festivities and their obligatory overeating: a skirt that fits perfectly at that moment might not fit so well the rest of the year! My skirt is now a little too big at the waist; I might add a second row of snaps to make it tighter in the near future.

What I don’t like in writing about a garment so long after its completion is that I have to make much more of an effort to remember the technical details. But here goes…

JupeGrise3It’s a Burda pattern from a few years ago; this was my second time making it. The first time I used a shiny pink fabric, so even though I still really like that first skirt and find it very flattering, it’s not that easy to wear. I wear it a lot in my free time, but it doesn’t feel right for work. So when I found this corduroy remnant at Tissus Passion, one of my favourite fabric shops here in Brussels (it doesn’t look like much, but there are gems to be discovered there!), I immediately thought of that pattern.

JupeGrise4Like the first time I made a size 36, which corresponds to the size of my waist but not of my hips (my hips are between a size 40 and 42), and, despite having to wiggle my way into the skirt to slip it on, once I have it on there’s enough ease at the hips for it to be comfortable.

I underlined the skirt pieces with some grey Bemberg rayon lining I had in my stash to prevent them from clinging to tights without having to bother with a lining (come to think of it, I don’t think a lining would have been that much more trouble) and it is very effective: to the exception of the waist that bags a little like I mentioned, I never have to readjust the skirt when wearing it.

JupeGrise6I used a thinner fabric for the hidden parts of the waistband, front fly and pockets: a cotton poplin (I think) with tiny grey flowers printed on it, also from my stash (I got it at a fabric swap). This was both because I didn’t have enough corduroy and I feared the corduroy was too thick to work in those places. Also, it looks pretty.

I took advantage of the underlining to hand sew an invisible hem, catching only the underlining with the thread. And I replaced the hidden buttons of the pattern with snaps, and the faux welt pockets with functional patch pockets.

JupeGrise5

See? Functional!

One of the reasons it took me so long to finish this skirt (aside from the fact that I am a very slow sewer) is how scared I was of messing up the fly front zipper. The first time I made that pattern, I didn’t know fly front zippers were supposed to be that difficult and I didn’t have a problem following the instructions of the pattern, but ironically this time I had read in so many places how scary they were that I started to fear that step. I read a few online tutorials that confused me even more, so I went back to Burda instructions… and everything went, if not perfectly (you can see there’s a small bubble of fabric at the top of the zipper), pretty well! So now I am kind of mad at people who make things seem so insurmountable when they aren’t. No, fly front zippers are not that difficult, you just need to go step by step. And while we’re at it, sewing knits is no more difficult than sewing wovens!

I still have a cardigan, a dress and a blouse to show you, let’s hope it takes me less than two months to come back again!

Enregistrer

Guest Post at Georgette’s: Watercolour Skirt

GuestToday I’m a guest on the Georgette blog, where I was asked to contribute a piece around the theme “Go Through Your Wardrobe: Make Do and Mend”. So if you want to see more of the skirt I was wearing last Sunday (MMM ’14 – Day 18) hop on over to the Georgette blog!