Agatha Au Naturel

Agatha4This is technically my first completed knit of 2016! I started it last August and finished the knitting part at the very beginning of November… but then I waited for two months and a half to weave in the ends and sew on the buttons, no idea why! When I finally got to it, it was nice spending an hour or two on the finishing touches and getting the impression of having made a whole cardigan in so little time!

Agatha1This Agatha cardigan is my seventh Andi Satterlund sweater/cardigan, and my third time using Drops Nepal yarn (a wool and alpaca blend). What can I say, I’m a creature of habit! I have nothing new to say about the yarn, it’s still very pleasant to work with and to wear, and its only negatives would be that it sheds a little bit of hair on any dark clothes I wear with it, and that it has a strong smell when it’s wet.
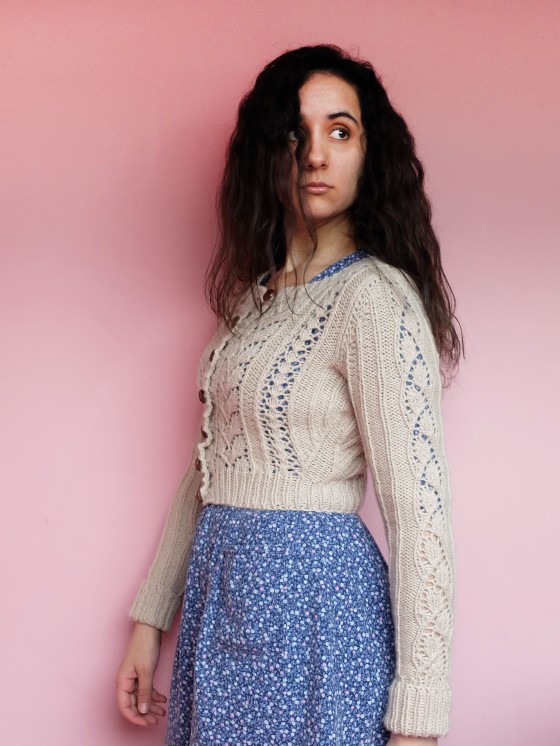
Agatha2As for the pattern, it uses the same construction as all of Andi’s sweater patterns, but I would rate it as a little bit more difficult than the other ones I have knit. With the different lace panels of the body that don’t have the same number of rows in their respective repeats, it took me a long time to memorize the repeats and I constantly had to refer to the diagrams, save for at the very end. So nothing complicated per se, but it did require more concentration than the other ones I’ve made, and I am kind of in awe of the people who chose this pattern as their first sweater!

Agatha5There are two little things I’m not in love with on the finished cardigan: the first one is the fact that the upper sleeves are a touch too wide for me, even though I made my usual size (Ravelry notes here). When I look back at the pictures of the pattern, I see that’s how they are supposed to fit, and it’s probably just that I’m used to a closer fit, so nothing serious there.

The other small negative is entirely on my part: I don’t know how I managed that, but I messed up the top buttonhole, which ended up way too close to the edge of the button band! I realised that when sewing on the buttons, so I attached the top button accordingly at first, but then I realised I mostly (more like, always) wear my cardigans open, so it made more sense to sew the button on the same line as the other ones, and have it look crooked when the cardigan is closed (i.e. possibly never) rather than when it is open. Plus, I can also wear it with all buttons closed but the top one like I did in some of the pictures here. Come to think of it, the top buttonhole is on the part I knit last, so if it still bothers me after wearing the cardigan for a little while, I could always reknit it… Though I doubt it will be the case!

Agatha6Speaking of buttons, they are one of the things I like most about this cardigan! For once I found what I wanted in my stash: they are a series of six buttons that my mother had rescued from an old jacket she threw away years (decades?) ago, and I love their vintage style; I think they pair extremely well with the natural colour of the yarn and the style of the cardigan.

Agatha3Another thing I love is the look of the side and sleeve decreases, so neat! And the lace panels, both on the body and on the sleeves. And the cuffs. And… Okay, I think it’s fair to say I quite like this cardigan!

Hollyburn Hat

HollyburnHat1Remember this skirt? It was the first project I ever posted on my blog! I had been meaning to make a matching pillbox hat with the fabric remnants ever since I completed the skirt; I even had all of the materials ready, but it took me all of nine months to finally get to it!

HollyburnHat2I used a two-piece premade buckram form which I covered first with a layer of wadding, then with the fabric. Everything but the back seam of the fabric is hand sewn, which allowed me to work on that project mostly from my coach (why do you think I love hand sewing so much?)!

HollyburnHat3Why Hollyburn hat, you ask? Well, first because it’s made from the same fabric as my beloved Hollyburn skirt, a tweed/chevron wool with golden thread woven in, and second because I used the pattern of the waistband tabs of the skirt to add a double tab at the back of the hat! I also used the same wooden buttons as on the skirt: I had bought four especially to make a matching hat!

HollyburnHat4

Here you can see the fabric and double button tab better, as well as the matching skirt…

HollyburnHat5

… And here you can sort of see some of the golden thread that’s woven in the fabric. Much more visible in real life.

HollyburnHat6I lined the hat with the same lining as the skirt, beige Venezia, and I added a beige petersham ribbon. The only thing that doesn’t really match is the ribbon I used to secure the comb (the comb helps the hat stay on the head), but blue was all I had in stock the evening I finished the hat and I didn’t want to wait until the next morning to go and buy some. I don’t know how many of my projects feature that same ribbon: I have a lot of it in my stash, so every time I need some ribbon (to stabilize shoulder seams for example), that’s the one I use.

I’m really happy with the outcome of this hat, which is pretty exactly what I had in mind, and quite proud of the finishing details. The only problem is it’s not the easiest type of hat to wear nowadays (ah, to live in the sixties!), but I can still see myself wearing it from time to time when going out. Though my boyfriend might disagree on that one. His comment when I proudly showed him the finished hat: “Oh cute, perfect for when you go fox hunting!”.

April Fools’ Sweater

AprilFool1It‘s finished!!! I can’t believe it took me so long to finish such a simple project: I began knitting this sweater on April 1st, which means it took me almost three months! I usually knit a sweater in one and a half to two months, but with this one, after a great start with the back, the front took me forever to complete, among other because I kept screwing up the part with the eyelet bows and having to frog and reknit it. After that I kind of lost my mojo and had to wait until I reached the second sleeve to find it again. And now it’s too hot to wear a sweater, waaaah!

AprilFool2But I still have a cute new sweater, yay! It’s exactly as I had envisioned, no surprise about the size or whatever, phew! All in all it was fairly easy to knit (the mistakes I kept doing on the bows where due to my lack of attention, that’s all), especially for my first real foray into colorwork (I don’t know whether to call this sweater colorwork – the chart was so easy).

The pattern is #3 in Phildar Magazine N°69:

Pull3As you can see I’ve changed the colours a bit! I liked the original ones, but I wanted my sweater to be as versatile as possible and I don’t think you could wear such colours in many different outfits. So I chose beige and dark blue, even though I already own a sweater in those colours, because I like nautical style a lot and I thought the form of this sweater was different enough from the other one. And who knows, I might even knit a third one someday seeing as I bought way to much yarn for this project and I still have five balls (almost six) of the beige yarn and four of the blue. 😀

AprilFool3How do you invisibly seam up a striped knit? I couldn’t stop the beige yarn I used to sew the sweater from showing a tiny bit in some places on the blue stripes. I hate seaming up knits!

But what I hated doing the most knitting this sweater was the collar band! Phildar always has this crazy idea of having you knit the collar band separately and sewing it to the sweater afterwards (they don’t seem to know circular needles even exist – they NEVER have you use them). I usually ignore that part and pick up the stitches to knit the collar band directly on the sweater. But this time, my circular needle would not cooperate. I don’t know whether that’s because my hands were sweaty from the heat or just because the needle was poor quality, but after hours (yes, hours! – my left forefinger is still a little numb) of suffering and not even managing to complete one row, I finally had to literally cut the cable of the needle to save the sweater and, the horror, resolve to using the dreaded Phildar method.

AprilFool4Look how cute the back is! They don’t show it in the magazine (you only discover it by reading the instructions!) but it was a pleasant surprise. I thought the pretend button placket looked a little sad without any buttons, so I added three.

So, when’s the cold weather coming back so that I can wear my new sweater?

Mon léopard et moi

Léopard1

I wouldn’t think of myself as an animal print person, but our millinery teacher had us design a hat based on a documentary film about the African and Brazilian nature and the image that stuck to my mind was this beautiful Brazilian leopard. What can I say, I love cats!

Léopard2

We were also instructed to use horsehair braid in our design (I can tell you this won’t become my favourite millinery notion anytime soon! – at least not this plasticky kind), and as you may already have gathered from my previous posts, I’m definitely a bow person, so I chose to drape the horsehair braid into this statement bow.

I hesitated between leopard-printed or black horsehair braid, and eventually went with black because the leopard-printed one kind of clashed with the leopard print of the wool felt cone. I now have a few meters of leopard-printed horsehair braid I need to find a use for, ahem…

Léopard3

The base is a one-piece wool felt with hand-molded brim. I had initially planned to leave the edge of the brim raw, but it was a little too soft, so I added millinery wire to strengthen it and I covered it with black petersham ribbon (that’s still a little too wavy to my taste, next time I’ll spend more time ironing it to shape). I think I actually like it better that way as it forms a nice contrast with the background and it echoes the bow.

Léopard4

I finished the hat yesterday (I began working on it in class a few months ago then left it languishing unfinished, oops!) and also wore it for the first time, in keeping with my pledge to wear one me-made hat each week of May. I was kind of expecting to feel self-conscious wearing such a weird hat (well, weirder than what I’m used to), and I was pleasantly surprised by my actually feeling totally at ease and not worrying a bit about people staring or God knows what. So this hat is not as easy to wear as the first three I wore for Me-Made-May, but it’s still much easier than I had first assumed.

Léopard5

Here you can see the inside, with another petersham ribbon (as in any hat) meant to help the hat stay on the head. The ribbon is invisibly sewn by hand, as is the one on the edge of the brim. Every stitch involved in the making of the hat was hand sewn, actually.
Ok, I could ramble on and on about this hat, but I think we’ll leave it at that. I’ll see you on Monday for the next Me-Made-May weekly recap!

Pirouette, Cacahuète!

Peanut1

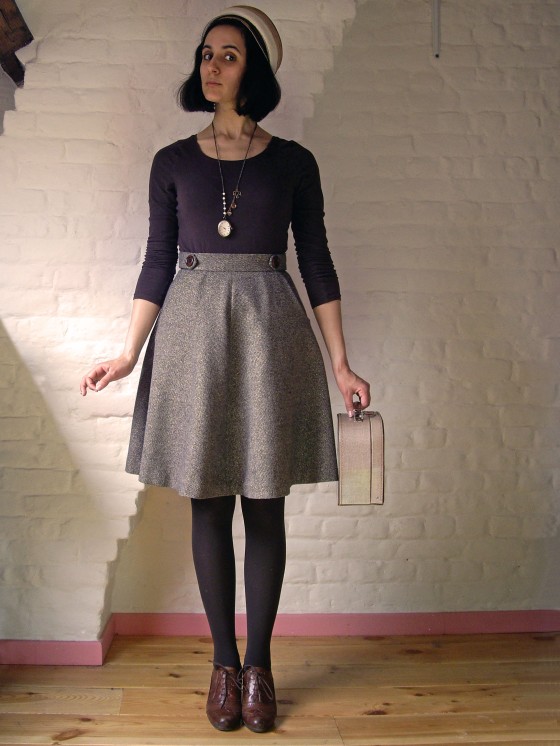
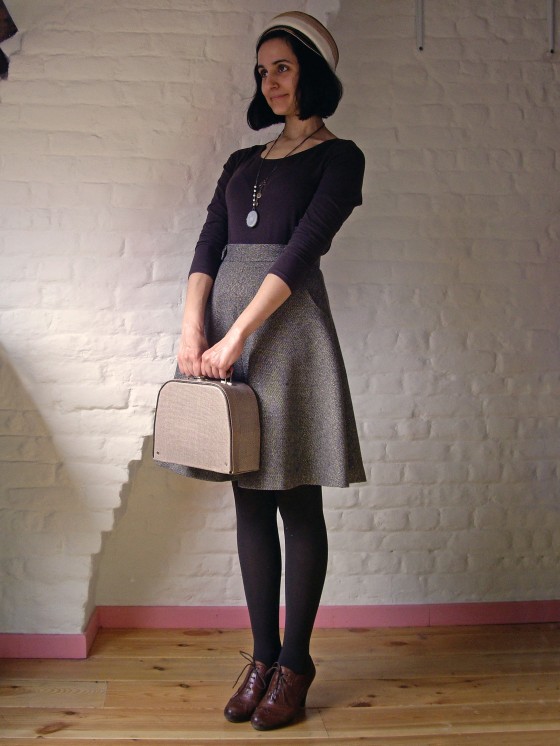
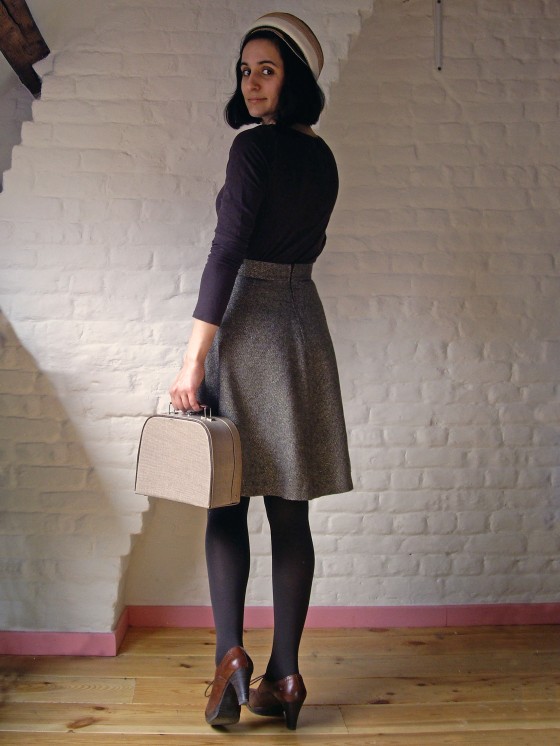
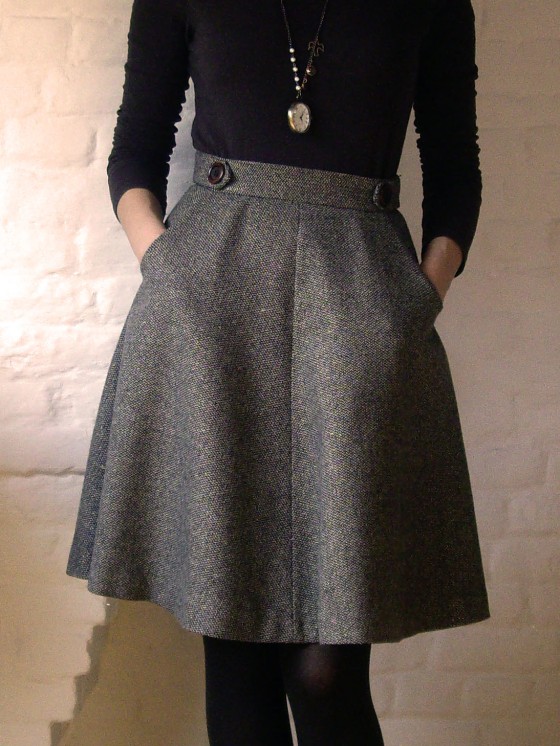
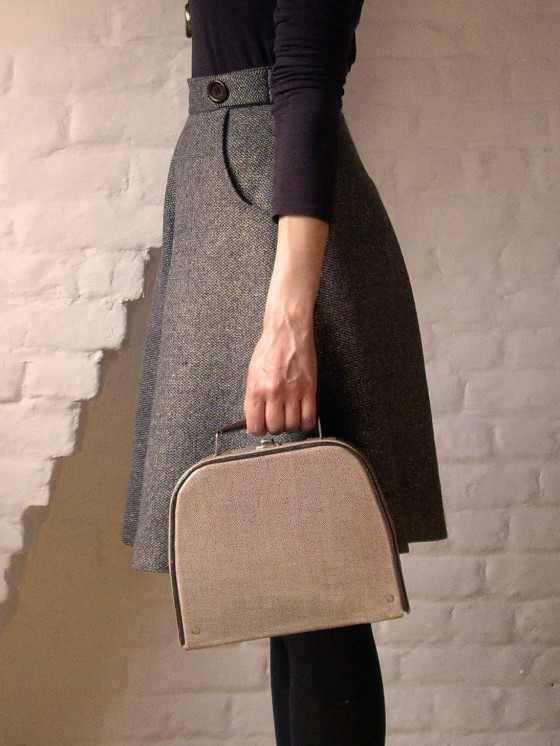
I finished this skirt two weeks ago and I’ve already been wearing it quite a lot since then. It’s the Hollyburn Skirt by Sewaholic, in a beige and brown tweed that has a golden thread woven in, though you can’t really see that on the pictures. I lined it with beige Venezia, following those instructions, and the buttons I chose are wood.

Peanut2

The fabric is quite thick, which was kind of a pain to work with when the time came to sew the button tabs, but all in all everything went smoothly, even tough because of the thickness you can sometimes see the bulk of the pockets through the skirt.

Peanut3

The pattern was very straightforward, so I really took my time and focussed on achieving a very clean finish: French seams (my first ones!) on the lining, handsewn hem, hand-picked zipper…

Peanut4

I wanted a classical skirt that wouldn’t be boring either (hence the golden speckles!), and I’m really happy with the result.

Also, a thing that is always very important to me in a garment is to be able to ride my bike comfortably when wearing it (I bike to work, and everywhere as a matter of fact!), and this skirt passes the test, yay!

Peanut5

PS Pirouette, Cacahuète is the title and chorus of a well-known French nursery rhyme with an allusion to golden thread. Plus “cacahuète” means “peanut” in French and my skirt is kind of the color of peanuts (well, the background is, I assure you!).